|
It's been a while since I last wrote up a recipe article. I've been really busy with my new job lately and just don't have time to write as many food articles as I would like. My new boss loves bacon, jerky and bourbon. What better way to to say thanks than by serving him up with some good cooking! Before getting started, this will either require a dehydrator or your oven needs to be able to hold a low temp at 160*F Ingredients
Marinade
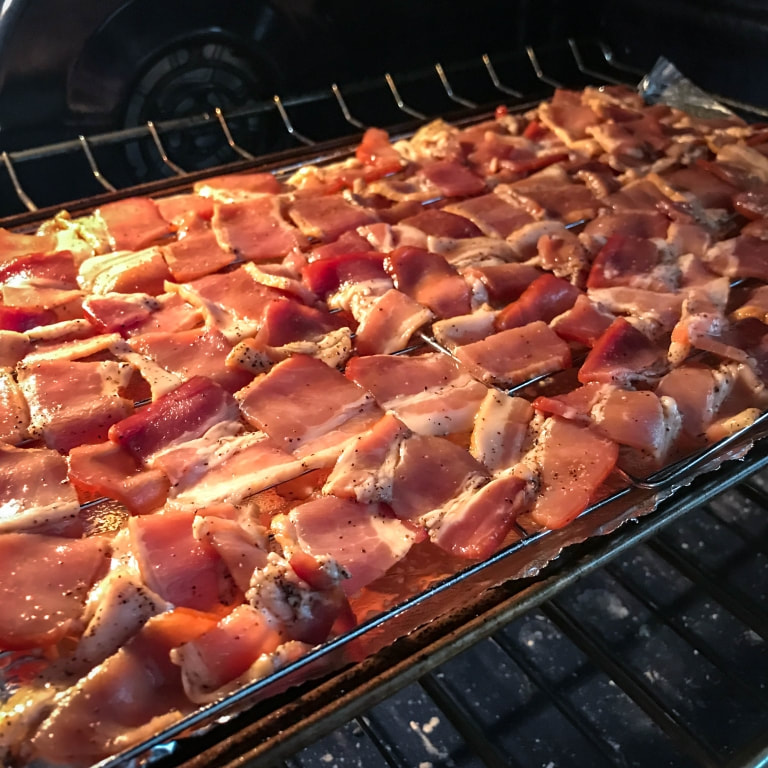
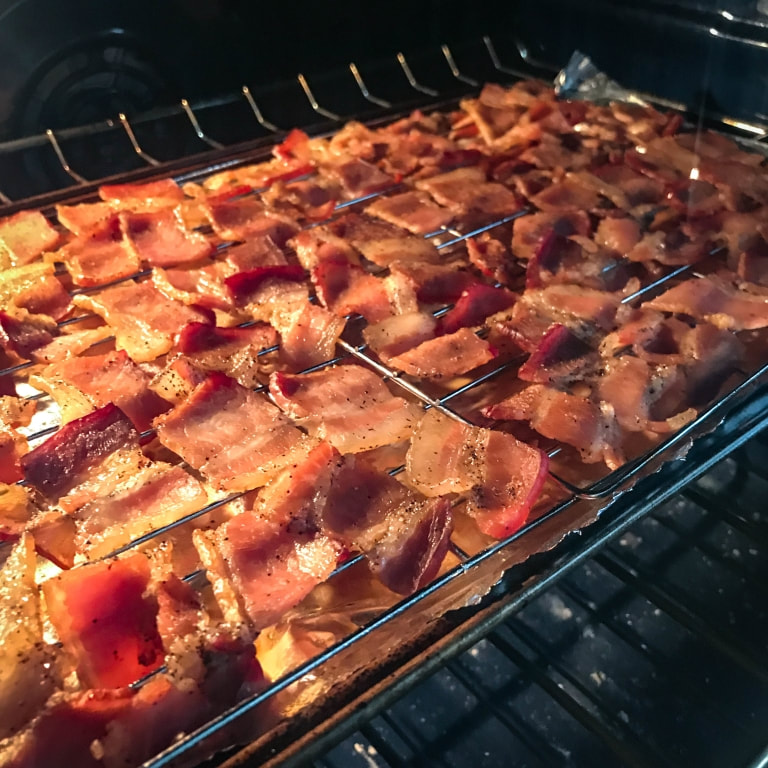
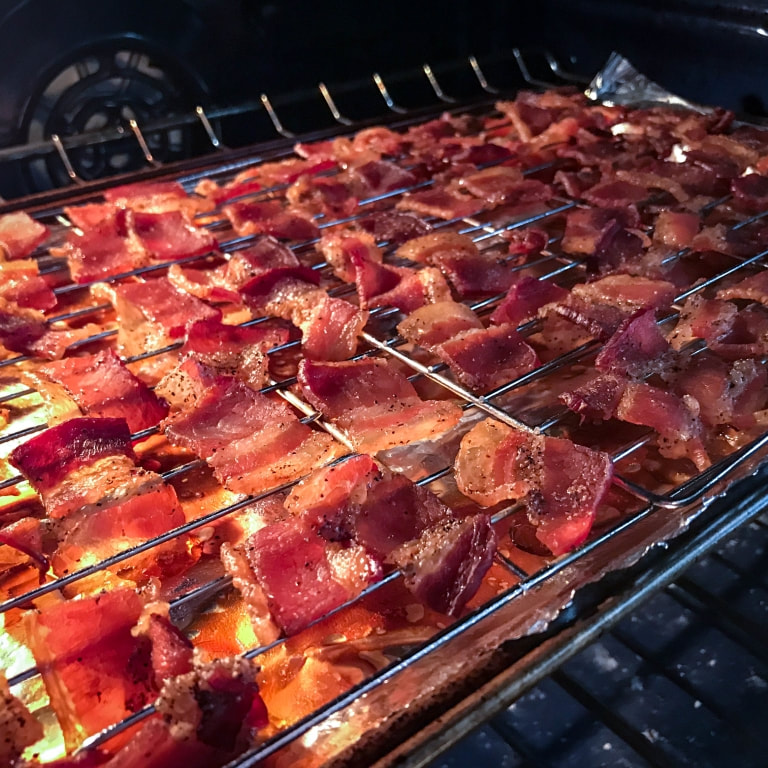
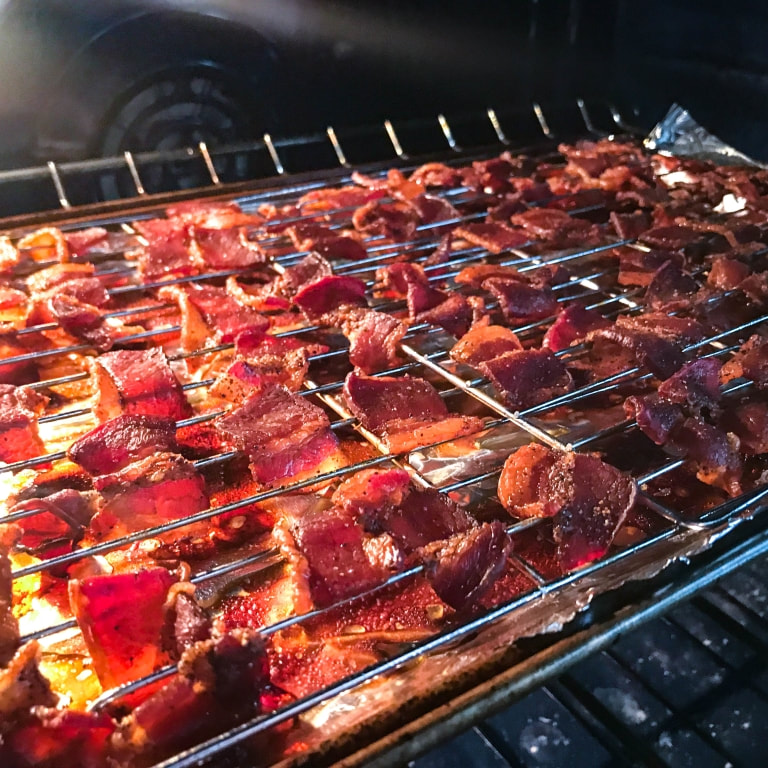
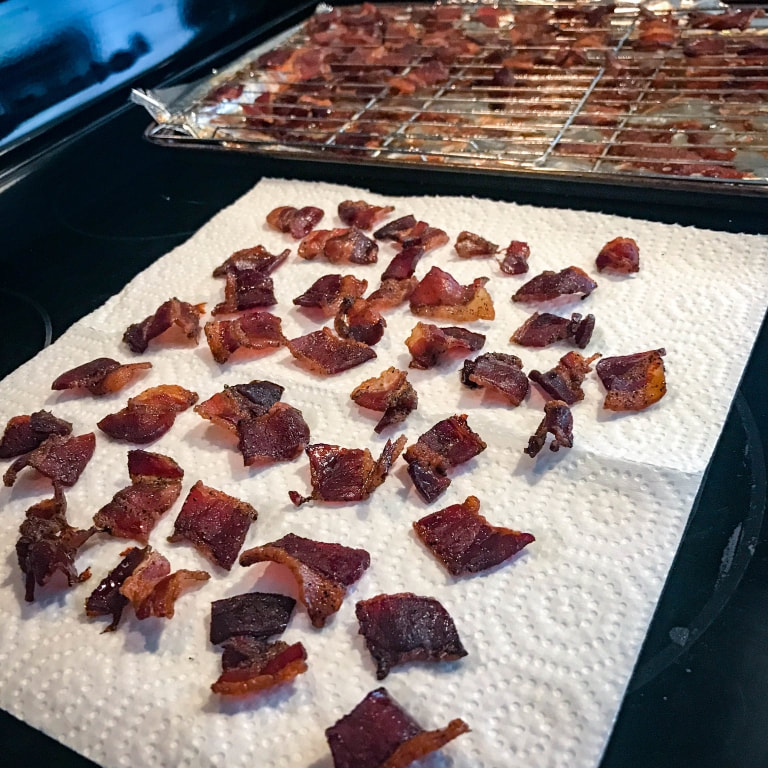
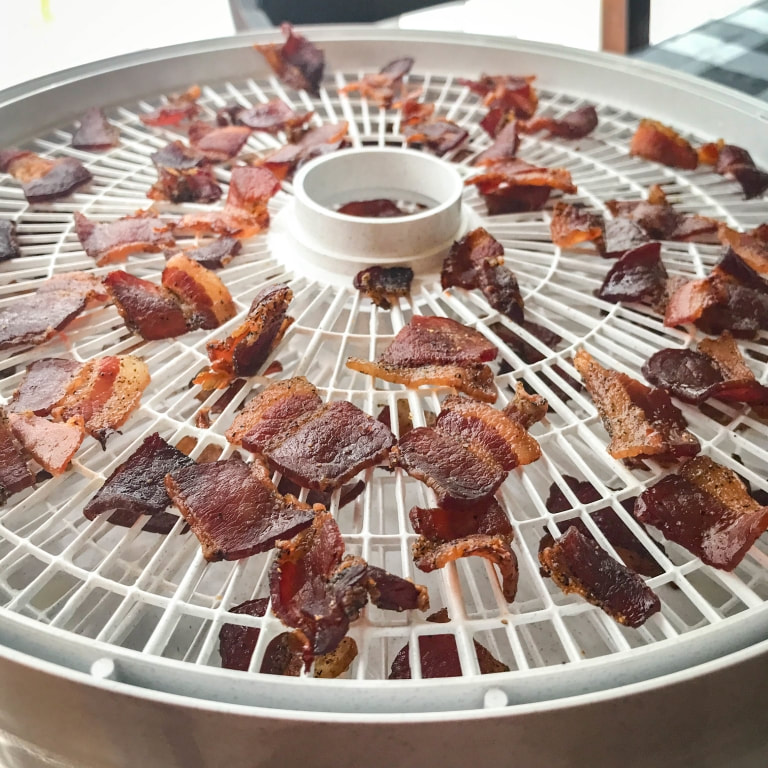
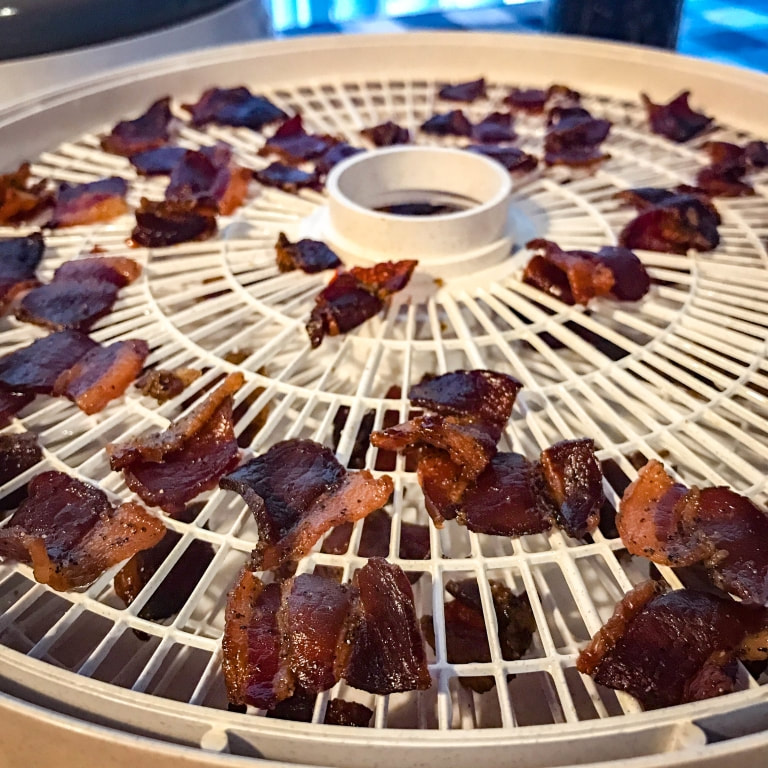
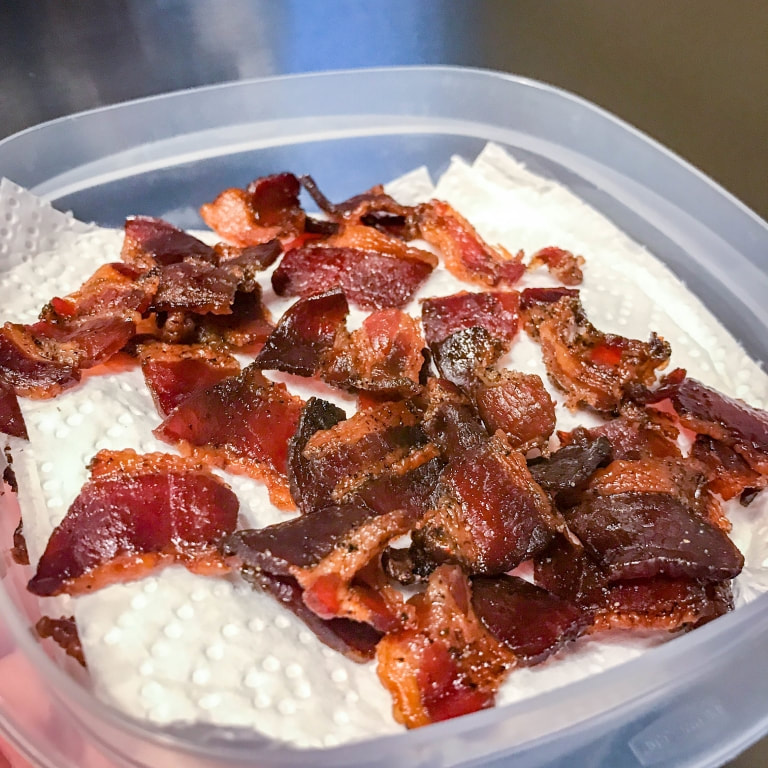
I don't take credit for this marinade. I got into jerky making and have really been enjoying the Jerkyholic line of recipes. These guys are full of tips and tricks for great marinade recipes to best cuts of beef for jerky making. I have modified this slightly to exclude curing salt and substituted molasses for maple syrup. Yield Roughly half the weight of the raw meat, so 1 lb = 1/2 lb. This is why Jerky is so expensive to buy in the store. Prep Cut your bacon either in half or into bite sized pieces. I went with the bite sized pieces myself. It makes for a more convenient snack. Put the cut bacon into a ziplock bag. Next, mix all of the marinade ingredients up and pour into the bag. Let all of the air out of the bag as you close it. Massage the bag a bit to make sure all of the bacon gets separated and that the marinade is able to coat everything as evenly as possible. Then set the bag in the refrigerator overnight. Pre-heat your oven to 200*F Prepare a few baking sheets with wire cooling racks on top of them. I also lined my baking sheets with aluminum foil, and then coated everything in olive oil. This will help later when the bacon is ready to come out of the oven and wants to stick to everything. Place your bacon across the cooling racks so that they are suspended over the baking sheet. The purpose here is to help melt off as much fat as possible while they slowly cook. Place your bacon in the oven for roughly 3 hours. I would set a timer to check once per hour to see how they are doing. Below is a time progression of what my bacon looks like as it's cooking over the 3 hours. You do not want them to get too crispy, or it will ruin the chewy texture of the final jerky. Once they start to just lightly crisp up, they are done. Remove from oven and let cool for a few minutes. Heavily pat the bacon in some paper towels to remove as much grease as you can from them. This will be important for the dehydrator. You can see how much grease drained out of the fat already in the bottom of the baking sheet. Now, there are two paths to go next, one is if you have a dehydrator, and the other is if you do not. Finish in the Oven (if you don't have a dehydrator) If you only have an oven, you can set your bacon back on the cooling rack pans and cook for another few hours at 160*F, checking every hour until they appear done. My oven is a newer (I say newer, it's 12 years old now!) LG digital model that lets me dial in the temp exactly where I need it. If you have an older analog dial oven, you will need to use an oven thermometer to make sure it can hold 160*F. Otherwise it will overcook the meat and make it too crispy for jerky. It will still taste good, but it will be more like crispy bacon than jerky. Finish in the Dehydrator My dehydrator is the Nesco Professional 600W 5-Tray Food Dehydrator, FD-75PR. I paid $12 for it from Goodwill, new-in-box. Dehydrators are easy to find at most larger thrift stores, such as Goodwill. I typically find one every other time I visit there. They run about $10-15, often in a brand new in beat-up-dusty-box condition. People buy these things, use them once, then let them collect dust. Their loss is your gain! Place all of your bacon pieces in the dehydrator. Spread them out enough to give them room for the air to move around them. I used 2 racks for 1lb of bacon. Set the dehydrator for 160*F and let them cook for another 2-3 hours. As I approached hour 3, I decided they were done and took them out. You can see here they look a bit more shriveled up and darker in color. Further grease had dripped into the bottom tray and these are about as dry as I can get them without cooking them further. Bacon is so fatty that it's hard to get all of the grease out. Beef dries up a lot better, but then it's not bacon! I patted them all again with paper towels to remove further grease and then stored it all in a sealed container with some paper towels in the refrigerator. If you want to store these longer term, I suggest reading up on curing salts. Jerkyholic explains the use of curing salts if you want to get into that, but mine jerky usually doesn't last a week so it will be fine in the refrigerator. Be Creative! Don't think of this as just "jerky". Think of it also as fancy bacon bits! Put these in salads, put some in your sandwiches, dice it up and put it in recipes that call for bacon, such as baked potatoes or broccoli salad, etc. The bourbon maple flavoring adds a rich taste to any recipe! I will be adding mine to a special mac and cheese recipe for another article soon. I hope you enjoyed this article. Making jerky is not very difficult so long as you have time, patience and a good dehydrator. The right cuts of meat and a good marinade makes for wonderful high protein snacks.
0 Comments
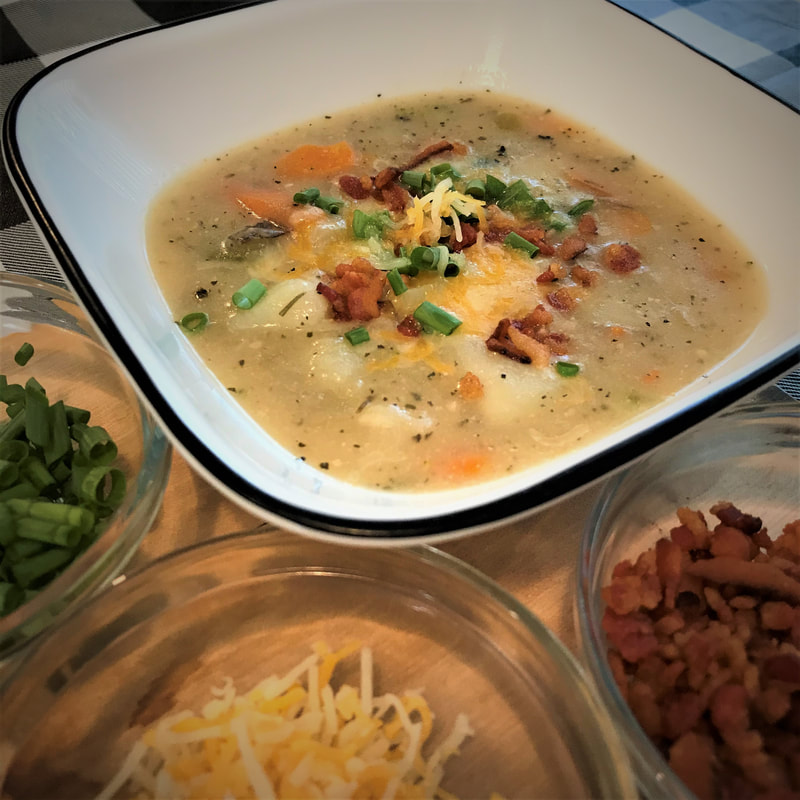
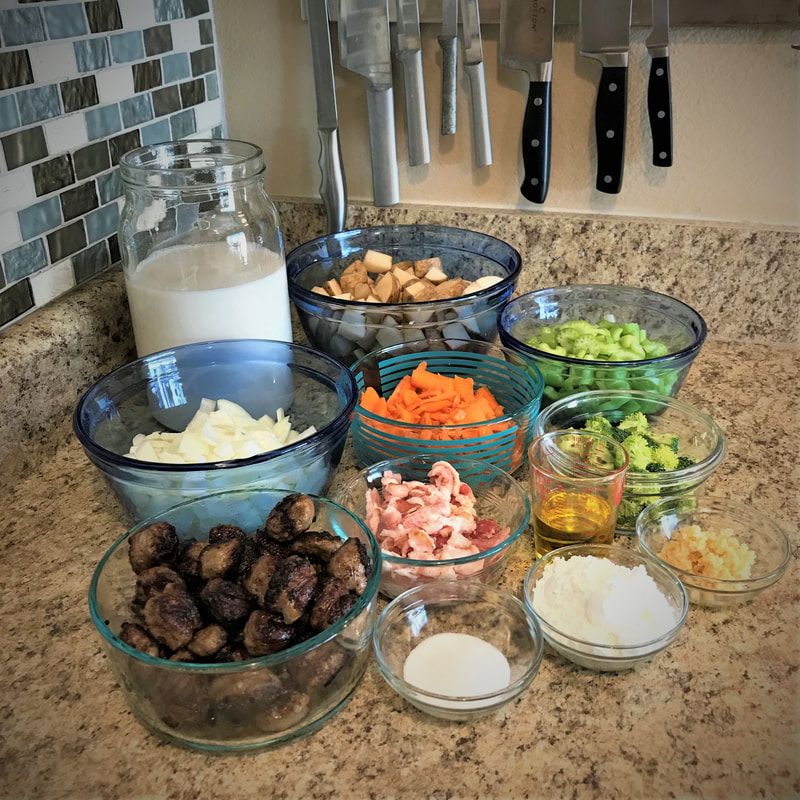
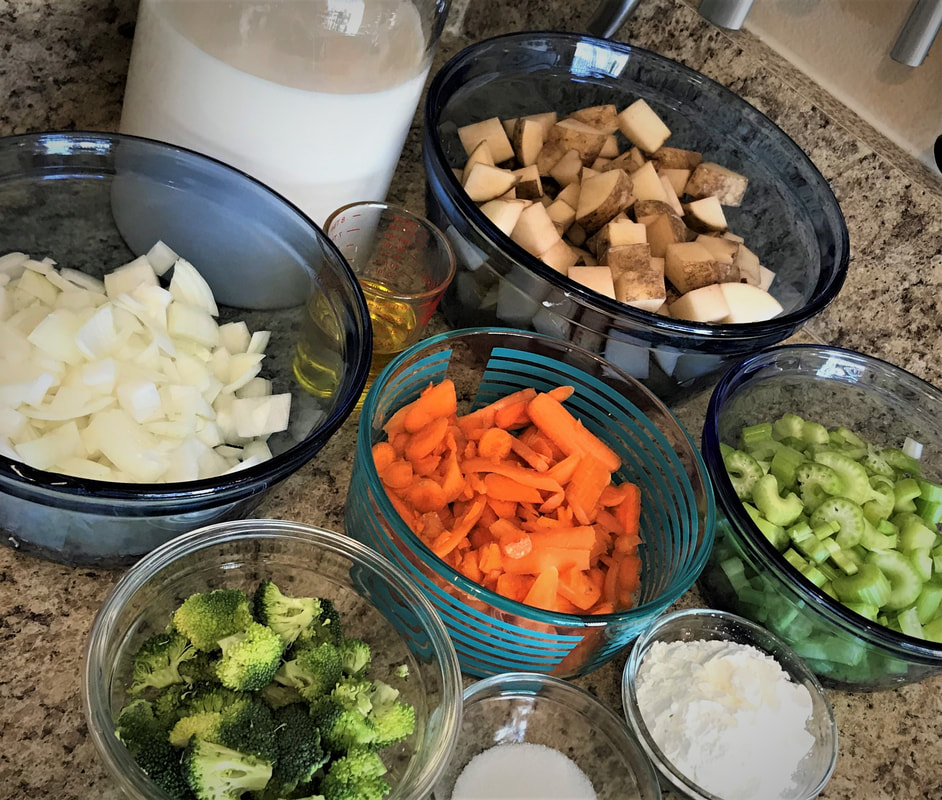
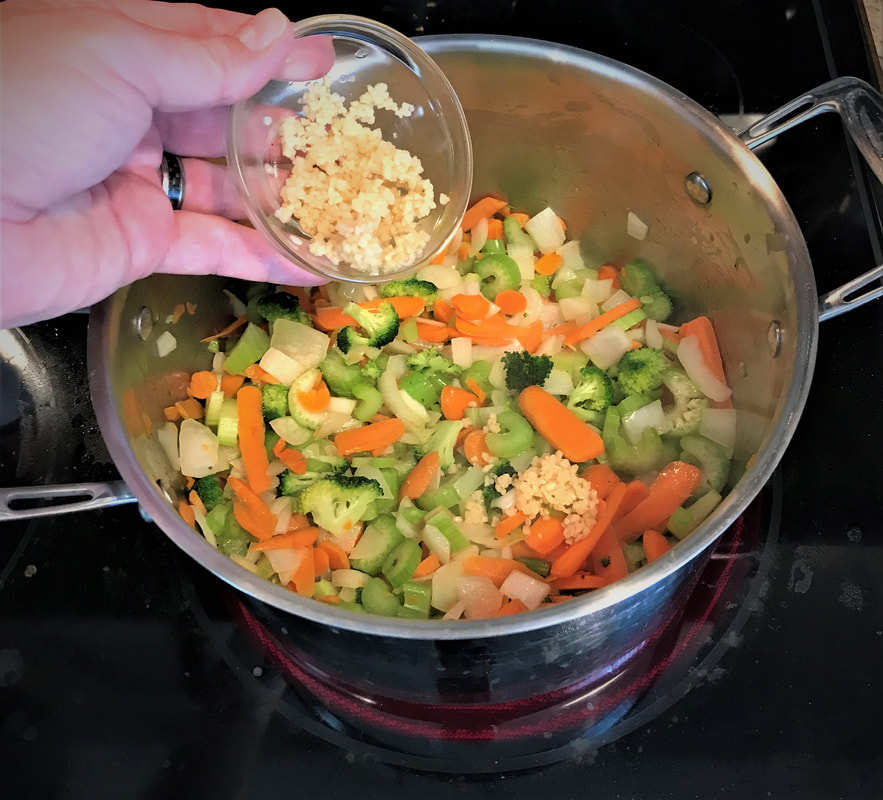
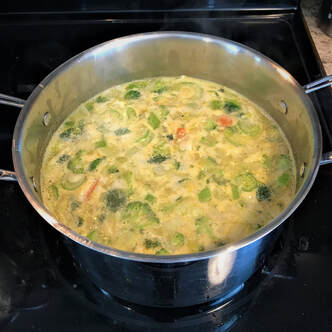
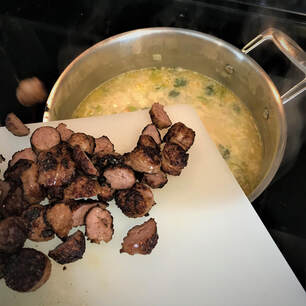
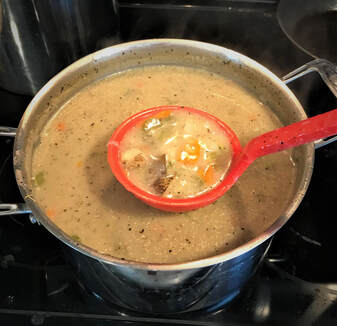
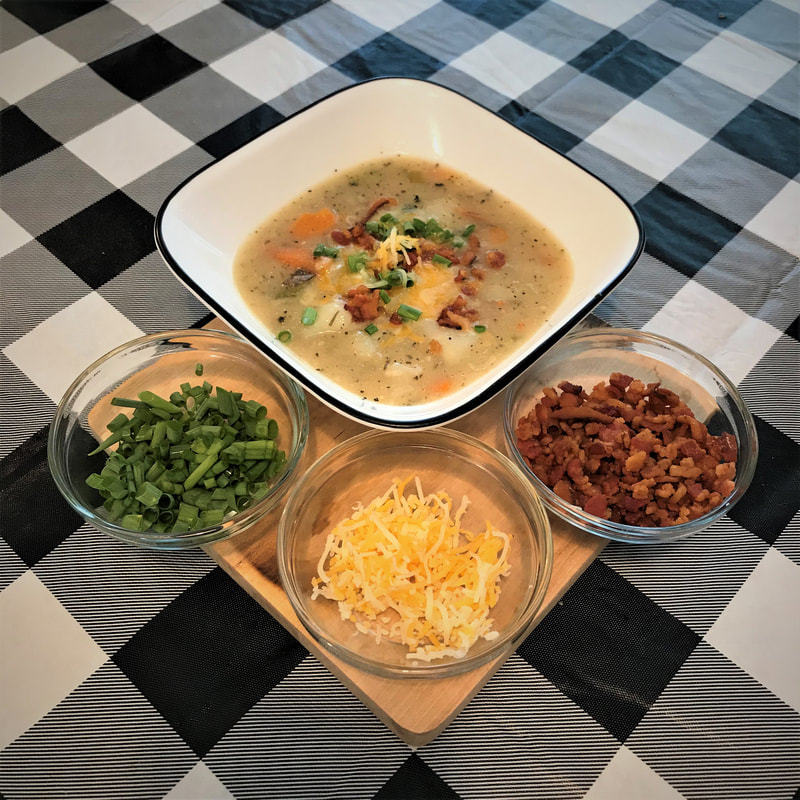
Here is another dish I made for my dairy intolerant wife. She really enjoys cream based soups, but simply cannot eat them. I like them as well, but often after I am also left feeling a bit upset from the heavy creams, cheese, and everything else in them. This option is pretty stomach friendly. I even ate two bowls while testing recipes, and had 2 bowls and (oink oink) two and a half grilled cheese sandwiches with American cheese and butter for dinner the same evening. My stomach was perfectly fine afterwards. Your mileage may vary after all the grilled cheeses though. I made a meatless batch for some friends of ours, as well as a meat-filled batch for my wife and I. Both turned out great! Vegan and Gluten Free Options Let me get this out of the way so I do not have to keep referring to it in the directions. I will be using the ingredients I want to use, such as meat and cheese, but you don't have to. You do you! Vegans My recipe uses chicken broth. As such, this is not vegan friendly. Instead, use the closest thing you can find to chicken broth. There are some DIY recipes out there you can google for that use common seasonings that are a close substitute. I would try those. I have not tested them myself yet, but they make sense in terms of flavor profile. Obviously, you will want to ignore the sausage and bacon I use in my own soup. If you use a vegan cheese for a topping, make sure it is something that tastes good on its own, as it is going to add that flavor to your entire bowl of soup. Gluten Free We are just using chicken broth, vegetables and almond milk and some meat. All of which have no gluten. Just double check the chicken broth you are going to use, some brands add various glutens in for whatever reason. Let's get started! The main substitution for this cream based soup is that I used almond milk instead of cow milk. Use whatever other milks you like, even using regular cow milk. It will all do the same thing in the end. I also like thick and hearty soups, so adjust the veggies and meat to your liking. Grilled cheese sandwiches are a great pairing with this soup. Ingredients TIP: For easier recipe following, you may want to go ahead and get all the ingredients out that you need, chopped, pre-measured and ready to go. I use whatever bowls/cup/etc I have available to put them in. Ingredients you add together at the same time can be combined. For instance, you can put the veggies in a bow, and all the spices in a little cup, etc. Keep the potatoes in their own bowl since they are added later. This all makes it quick and simple to just add each set of ingredients as needed instead of measuring or cutting while in the middle of cooking. Prep as much as you can ahead of time, then cook. Veggies
Meats (Optional)
Seasonings
Liquids
Thickener
Toppings (Optional)
Instructions
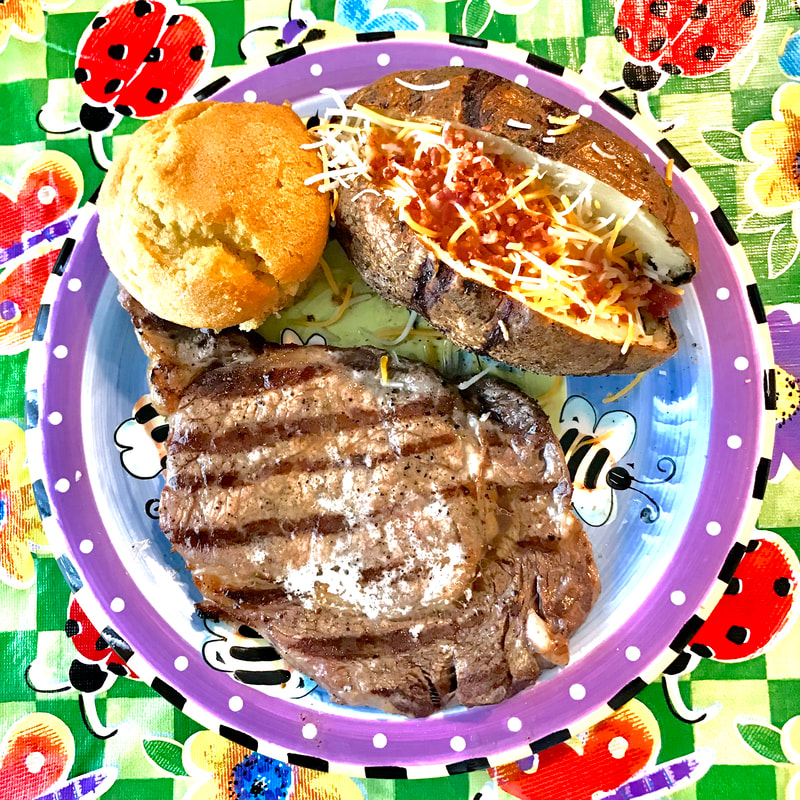
This past Father's Day, I wanted to make my dad a meal fit for a king. I wanted to spend some quality time with my parents, so we had them over to our home for a Father's Day lunch. I asked my dad what he would like for lunch, and he said steak, loaded baked potatoes and some kind of dessert so long as it had ice cream. While many families were going out to eat, and spending quite a bit of money at restaurants, I decided to go in the opposite route. If you already read my Baller on a Budget articles, you'll know that I like to see how much I can get for the least amount of money, while still maintaining high quality. Where do I shop? I am a big fan of shopping at smaller grocers, such as Aldi and Save-A-Lot. Many people think these grocery stores are "discount" chains, and have sub-par offerings. In fact, they do not. What they do is focus on smaller stores while focusing on their own house brands and only offering single options for each item you are looking for. Do you really need 20 brands of ketchups to choose from? No. Do you need 32 brands of pasta? No. Quality is quite high for these stores. Aldi's house brands, meats and cheese are top notch. Save-A-Lot has excellent produce and meats. I often combine trips to both stores to maximize savings. Thankfully, I live one block from the Save-A-Lot, and about a mile from the Aldi. There is also a Wal-Mart Superstore between both of the stores that I use when neither store has what I am looking for. I try to avoid overly expensive stores such as Publix, Whole Foods and Lucky's. I like the prices of Winn Dixie and their new store Fresco Y Mas, but I refuse to shop at stores that force you to sign up for a "loyalty" card in order to get the better prices. The Menu:
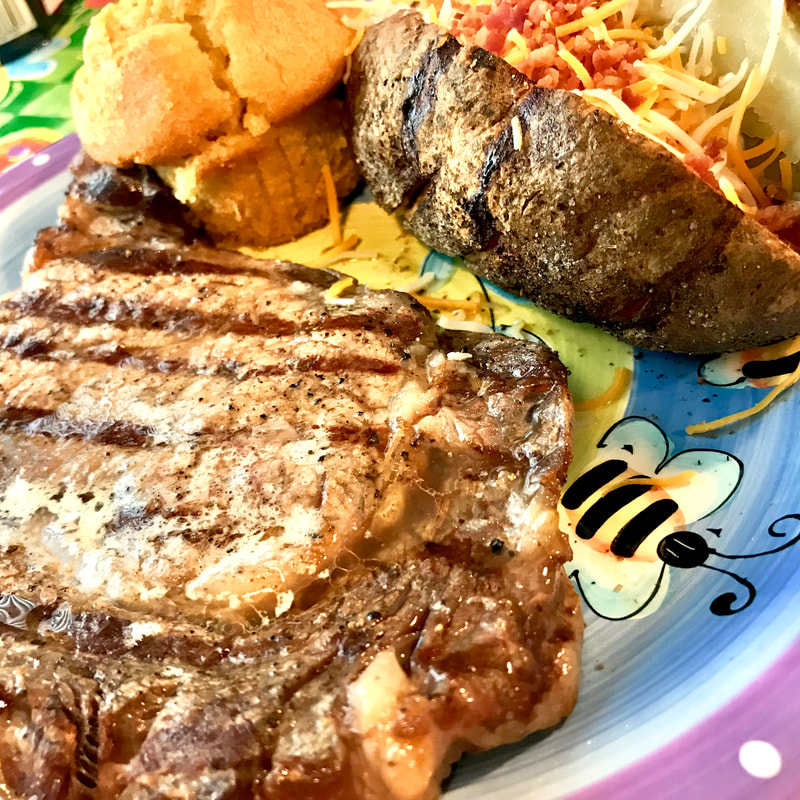
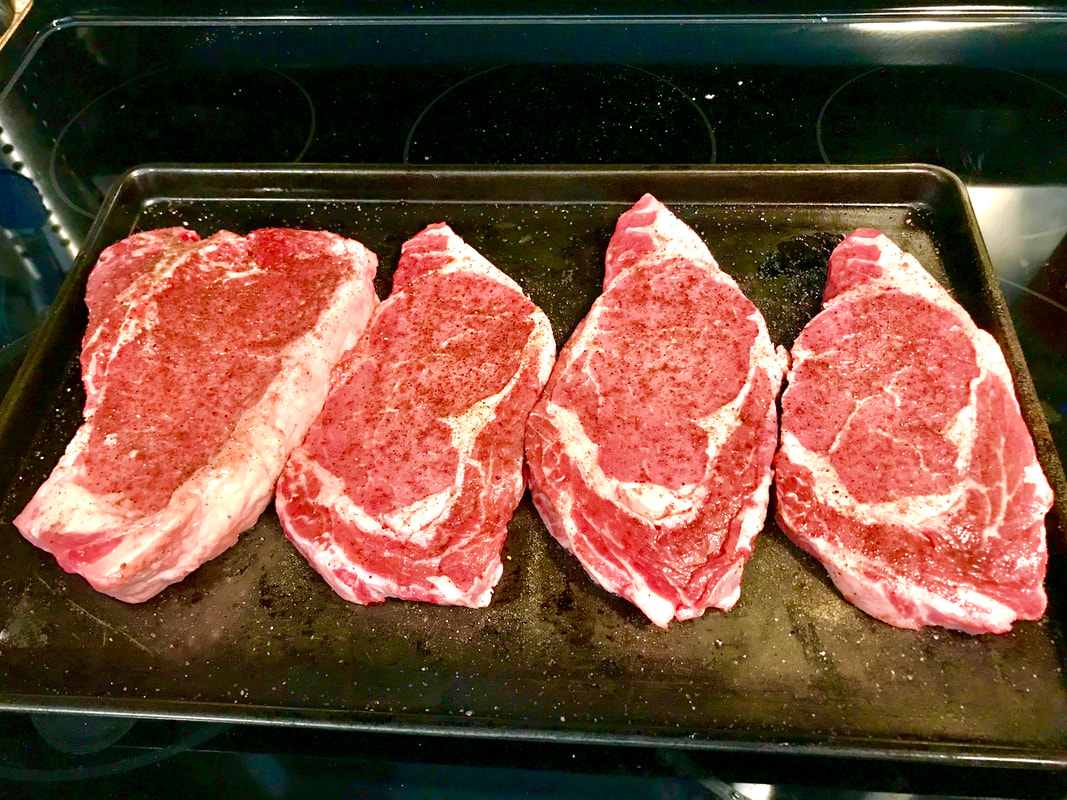
Save-A-Lot had T-bone steaks on sale this week for Father's Day. Score! My dad was talking about T-Bones the last time we were at a steakhouse. For the rest of us, I chose ribeye steaks. I grabbed a bag of baking potatoes and a few other items and was on my way. Earlier in the week we were at Aldi noticed they had avocado oil sitting next to the olive oil, so I decided try some out and bought a bottle. The smoked salts, that I will mention using, were purchased at a local spice and tea shop. I really enjoy cooking with smoked seasonings. The tellicherry pepper I use is the same thing as regular black peppercorns, except they are larger. The larger size of the peppercorns loses some of the heat, but adds in a larger more fragrant aroma to your cooking. You can pick up a grinder of these at nearly any grocery store. The champagne vinaigrette dressing we got at Wal-Mart. Steaks Everyone is an expert on steaks. Everyone has their own opinions and methods of how to cook the perfect steak. My opinion is no different from any other method(s). In fact, I usually just try other ideas every time I cook one so that I can formulate my own opinion and learn from them. The method I decided to try today was a quick and simple method I had not tried before. I started by taking the steaks out of the refrigerator an hour before I was ready to cook them. I want to bring them down to room temperature before cooking. There is a multitude of opinions on when to season your steak. This is the method I used on this occasion. I coated both sides of the steaks in avocado oil (you can use olive oil for the exact same effect). The oil helps the seasonings stick better, and it helps it brown nicely (crust) when you sear it later on. I then sprinkled a generous amount of smoked alderwood salt and tellicherry pepper on it. Cooking the steaks was very simple and easy. Do not over complicate steaks with tons of methods you read about or see on TV. It is just seasoning it how you want it and then heating it up to the right temperature and doneness to your liking. That is it. Your only goal is to not overcook it. Otherwise, do whatever you want to them. There is no wrong way to cook steaks if you like how they turned out. I take that back. Do not put steak sauce on a good cut of meat. Ever. The actual taste of beef, and what you season it with, are more than enough to create one of the best meat flavors out there. Covering it all up with sauce is an insult to the cow that the steak came from. Please do not sauce your steaks! Enjoy the taste of the meat and your seasoning choices. I heated my grill up to around 500*F, put the steaks on and closed the lid. The method I was following said to leave it on for 2 minutes. Do not check them. Do not touch them. Do not flip them. Just let them sear for 2 solid minutes. Once 2 minutes is up, flip them and sear the other side for exactly 2 minutes. After searing them on the grill, I put them on a baking sheet, put two small pats of butter on each steak and put them into the oven at 425*F for 5 minutes. I chose this temperature because it is what it was already at when I took the baked potatoes out. I employ the KISS method. Keep It Simple Stupid! After 5 minutes, I took them out and covered the entire baking sheet with aluminum foil to let the steaks rest for a few minutes. The T-bone was a good inch+ thick, and came out medium. The ribeyes were a little thinner and came out medium well. What I learned was I would have cooked them a couple of minutes less in the oven to keep them slightly more rare. Baked Potatoes There is not much to baking a potato. I preheated my oven to 425*F. I first washed and dried the potatoes. I then slathered them in avocado oil (you can use olive oil for the exact same effect), and coated them with hickory smoked salt and tellicherry pepper. Using a knife, I cut slits in the tops of each potato to help them breath while cooking. I then baked them for 1 hour. After baking, I cut mine in half, chopped up the middle, and covered it in butter, cheese, bacon and sour cream and some Texas Pete's hot sauce. The rest of the foodSalads are self-explanatory. The cornbread muffins, ice cream and pecan pie was store bought and on sale for much cheaper than I could make them, so I just got those. The point of this meal was eating like a king on a budget, not necessarily making it 100% from scratch.
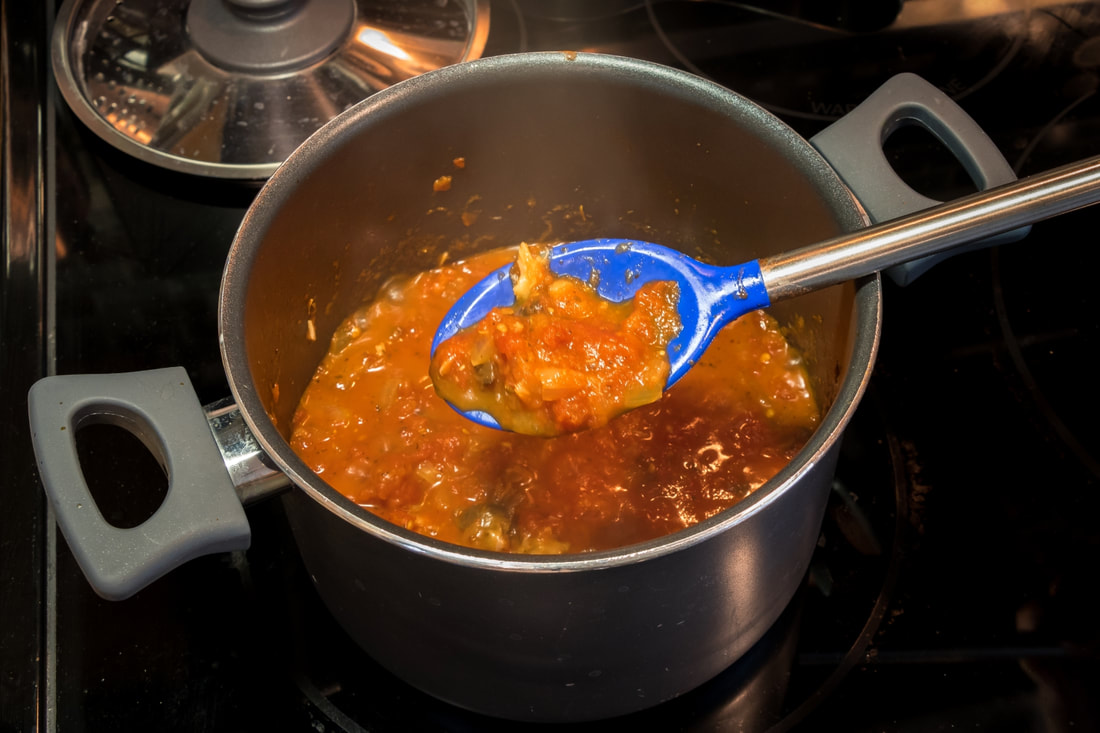
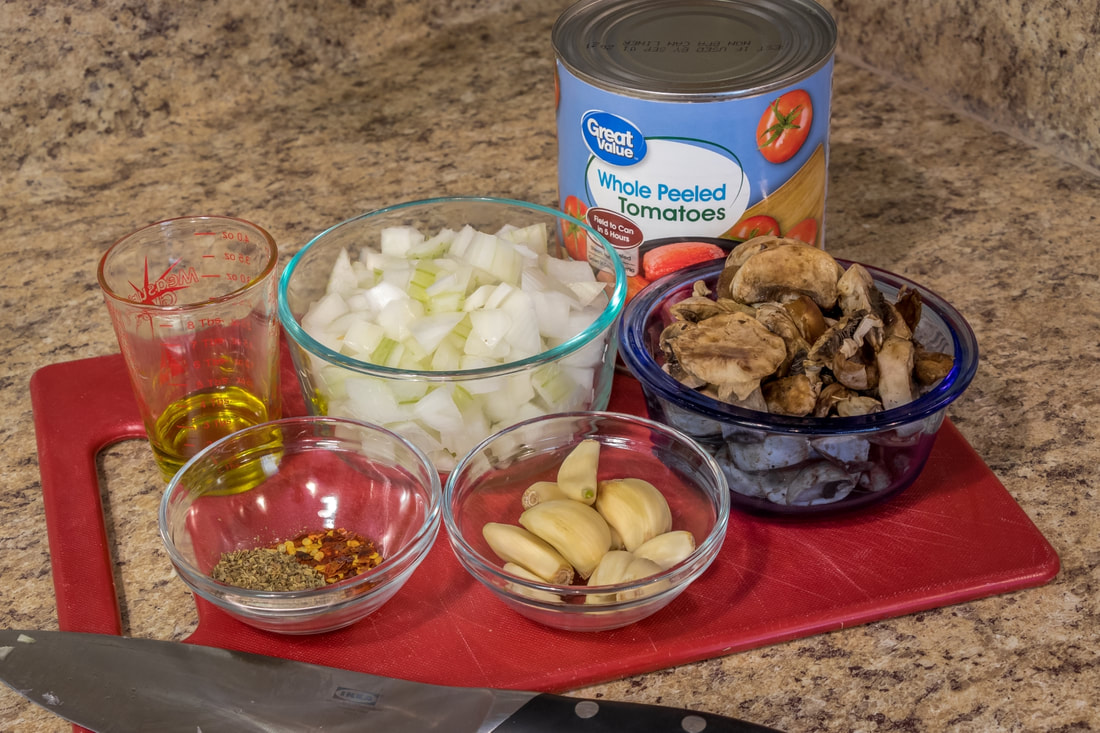
I looked at several recipes for marinara sauce and found most had the same base, using whole peeled tomatoes and olive oil. The nice thing about this is that this is your own homemade sauce, you can make it exactly as you like it! Garlic and seasonings can be added to your taste. One trick if you like the flavor of onion, but don't care for the texture it gives marinara sauce, is to add half of an onion to the sauce while it cooks, skipping the mashing step and removing it before serving. My wife and I like chunky sauce, so we add more ingredients than most of the recipes out there. For our take on the sauce, we add mushrooms and Italian seasonings, but no salt. Ingredients
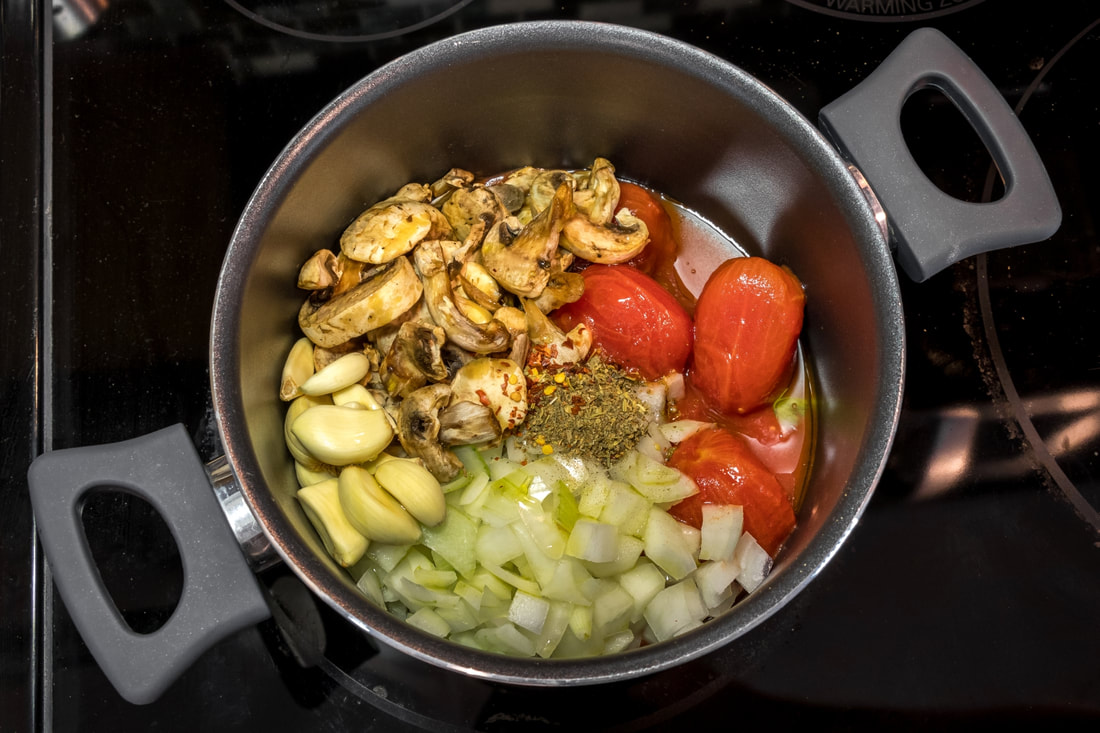
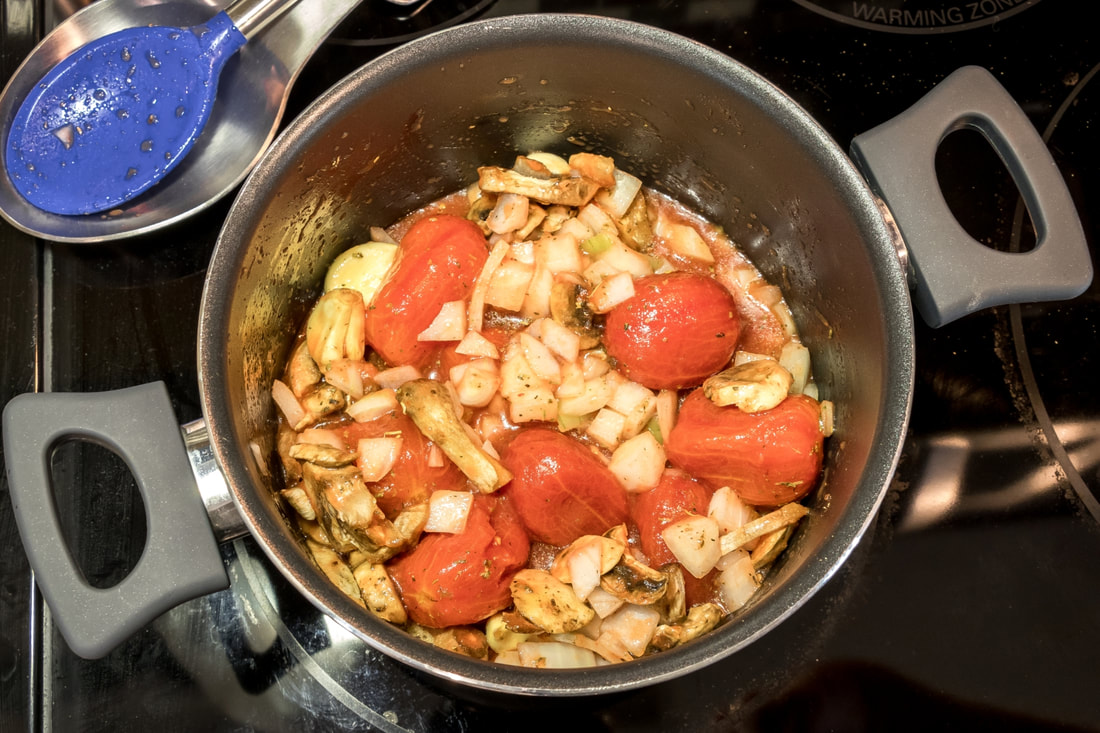
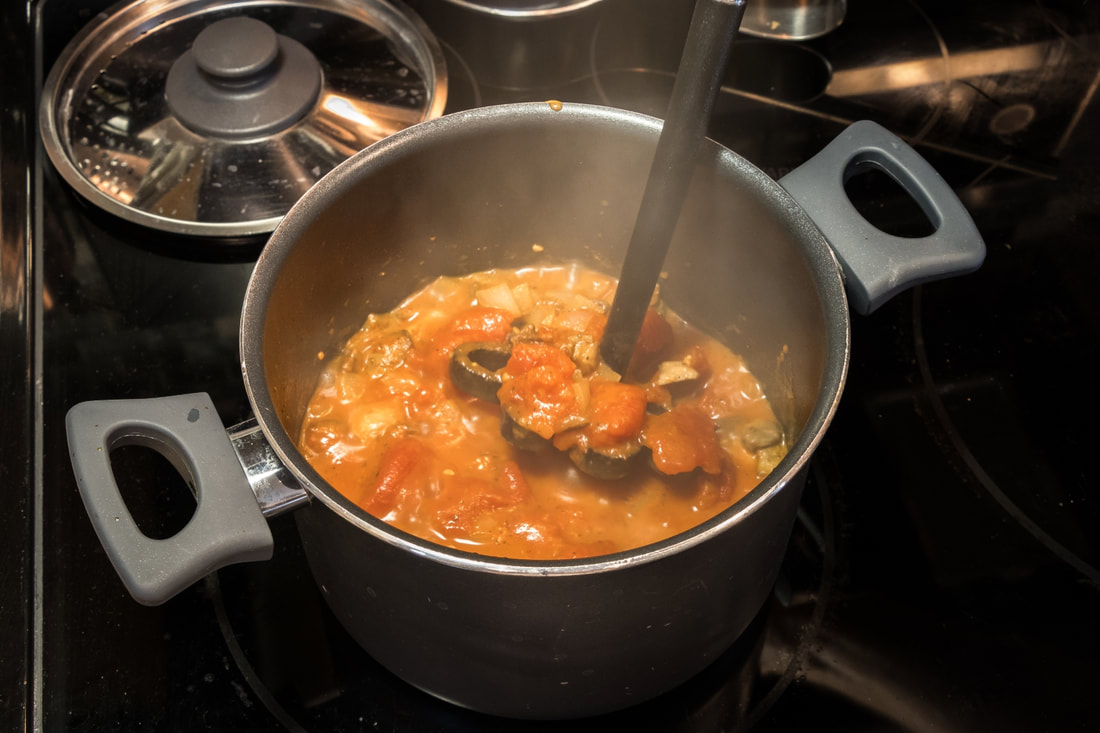
Directions 1 - Pour all ingredients into a small sauce pan. 2 - Stir them gently to fully mix, taking care not to break the tomatoes. 3 - Bring to a simmer over medium/high heat, stirring occasionally. 4 - Lower the temperature, cover with a lid, and let it simmer for 20 minutes. 5 - Mash all the ingredients together, using a potato masher, or other hard utensil, then stir together. This should break up the tomatoes and garlic to start forming the sauce. 6 - Let it simmer, covered, for another 30 mins. Stir occasionally. 7 - Mash the ingredients once more to break apart the onion and anything else that’s still in larger chunks, then stir together. 8 - Let simmer, covered, for another 10-15 mins or so, stirring occasionally. You may need to mash several more times every 5 mins or so while it's simmering it's final minutes. 9 - It is pretty much done at this point. You can remove it from heat and set it aside. We will now go back to our pizza dough.
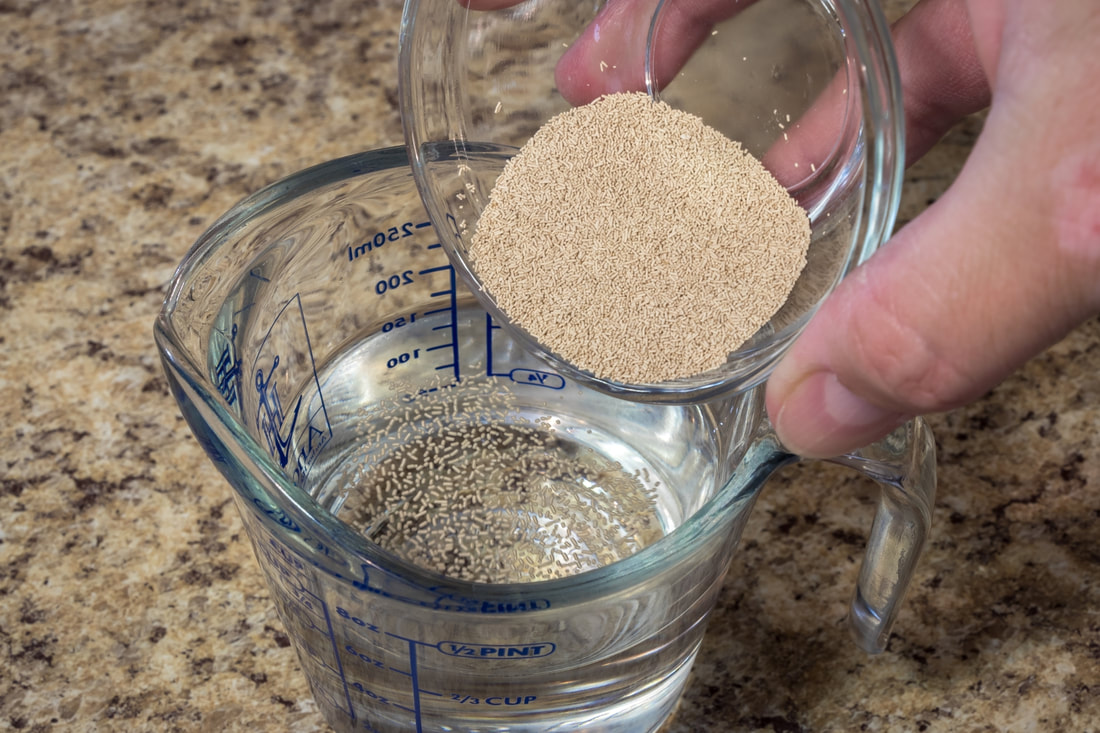
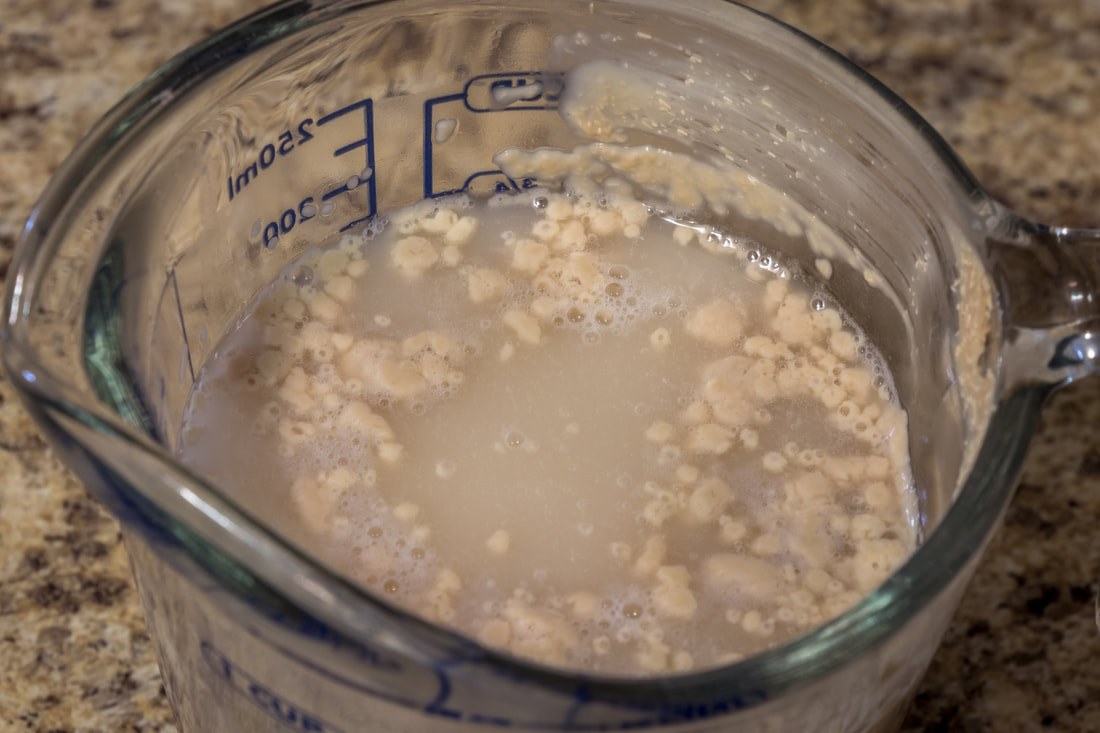
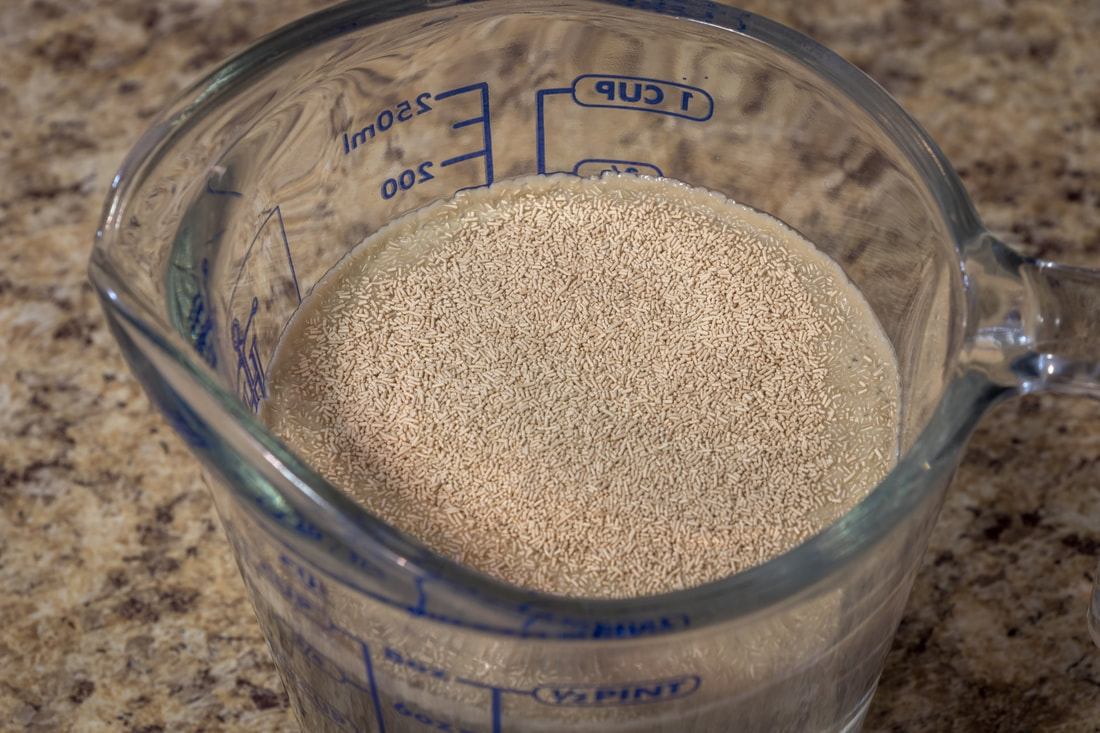
If you want the sauce less chunky, you can run it through a blender before using. You will have a lot of leftover sauce if you’re only making one pizza. There is usually enough left over to save for a nice pasta dish for a future dinner. Keep that in mind if you plan to blend it smoother for pizza use, you may want to set some aside for pasta or other uses. It makes great bread stick dipping sauce too! Have you ever wanted to make a gourmet pizza from scratch, but thought making your own dough and sauce would be complicated, difficult or expensive? You might be surprised that it is quite cheap and easy to make your own specialty pie. Restaurants may charge $14-18 for a pizza, but making your own only requires a little bit of physical work, and about an hour of waiting. I will walk you through doing all of this by hand with affordable ingredients, using utensils you most likely already have in your kitchen. For those with stand mixers, I will have alternate instructions at the end of the recipe. I find that many recipes also add too many steps into a recipe that are just not necessary. My goal with these recipe articles is to take either my own, or existing recipes, and re-write them to make them less complicated and easier to follow. I find that a lot of recipes miss out on important things that they assume people should know, or they just omitted an important step that is hard to figure out after the fact. This is very frustrating to new cooks, and I aim to fix that. Personally, I use a stand mixer for everything now, but I was at a friend’s house over the weekend and I wanted to make stromboli for his family for dinner. He did not have a stand mixer, so I showed him how to do it all by hand. I have not made it that way it in a while and forgot how easy it was to do. Now, let's make some pizza! Flour and Yeast For flour, I just use all purpose (AP) Flour. Nothing fancy, I use whatever store brand is the cheapest. For yeast, you can use either instant or active dry yeast. Both will work, but instant will make your dough rise faster. I bought a jar of Fleischmann’s Rapid-Rise Bread Machine Instant Yeast. I bake a lot, and it stores safely in the refrigerator for a long time. Unless you plan to bake a lot, I would recommend just picking up two packets of either type of yeast. I say two in case one is bad. This happened to me and it wasn't fun running to the store for more yeast in the middle of baking. Proofing Yeast How will you know if your yeast is "bad"? By proofing, or blooming, the yeast. I had no idea what proofing yeast was until well after I started baking. I noticed occasionally that my dough did not rise, but did not know why. I found out that it was most likely due to bad yeast. This can happen sometimes if the yeast is too old from sitting on a store or pantry shelf too long. Most dough recipes include water as an ingredient, which is the only thing you need to proof yeast. The simplest way to do this is to put your yeast in the water before adding it to your recipe. You will need to make sure the water is warm. Not steaming, but warm (100-110*F). I just let my kitchen faucet run on hot until it gets warm, then fill my measuring cup to the appropriate amount of water needed for the recipe. I then dump all the yeast into the water, give it a good stir, and then let it sit for several minutes. You can go ahead and prepare the rest of your ingredients while you wait, and when it is time to add the water, your yeast should be ready to go. What you are looking for is that the yeast granules have puffed or are dissolving and that the water is frothy. If you do not see any froth, stir again and let it sit a few minutes longer. If it still does not produce any froth, then the yeast is bad. Pour it out as you do not want to use it. Set your other ingredients aside and try again with new yeast. If using yeast in a packet, hopefully the next packet is good. If from a jar, it is possible the entire jar is bad. A second proofing attempt will tell you if you should continue with your recipe or not. Now, do not let any of this scare you. Once you have done this and have seen it work, it becomes a routine step you will do any time a recipe calls for yeast. Instant Yeast Technically, you do not need to proof instant or rapid-rise yeast. Instant yeast is always ready to use. The granules are tiny and can be directly added to your dry ingredients without having to proof them. However, I had one experience where I was using packets of instant yeast, and one packet was bad. My dough did not rise, and I had to throw everything away and start over. Because of this, I even proof my instant yeast now, as I cannot trust what I am using is good or bad, and there is no way to tell except by proofing. I also like that the yeast dissolves more thoroughly using water before you put it into your dry ingredients. That is just my personal preference, you don't have to do this if using instant yeast. I have also just poured the yeast right into the dry ingredients and produced the exact same dough that rose in the exact same amount of time. Now that you know how to proof yeast, let us get on to the recipe! Pizza Dough I have tried several recipes over time and came up with this one for my own liking. For all the newer bakers out there, I will be explaining some of these steps a lot more in depth than usual. I know I would have loved to have known these tips when starting out, but I had to figure it out the hard way since many directions are not very well written.
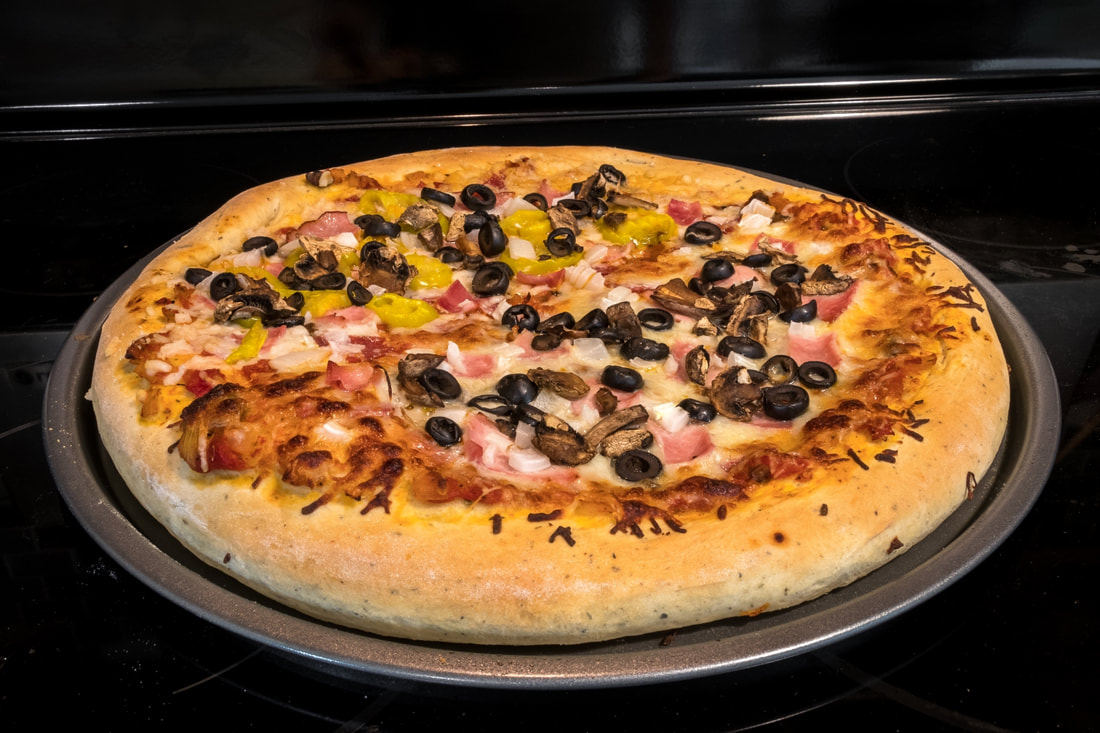
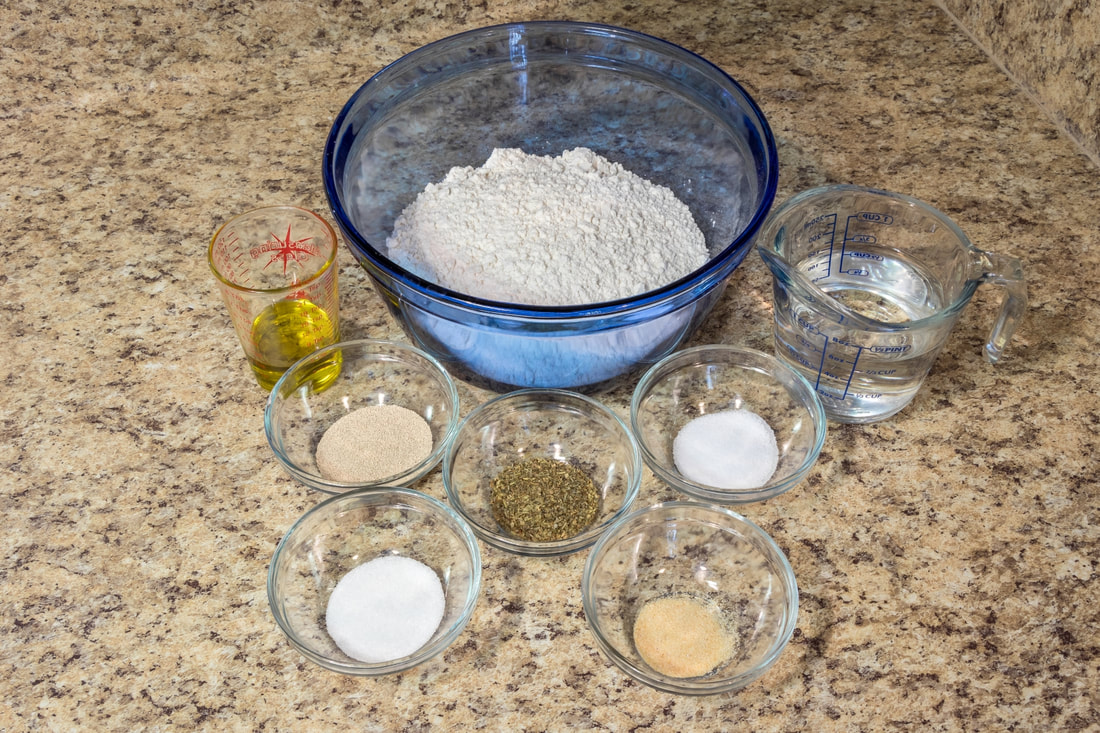
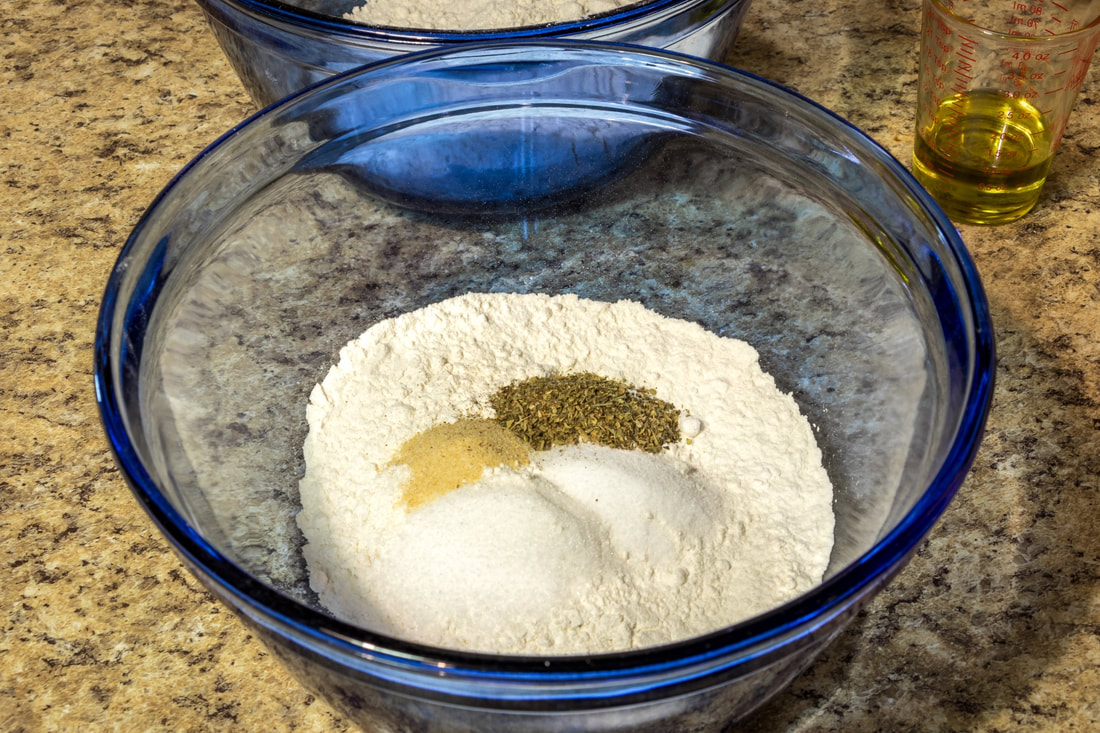
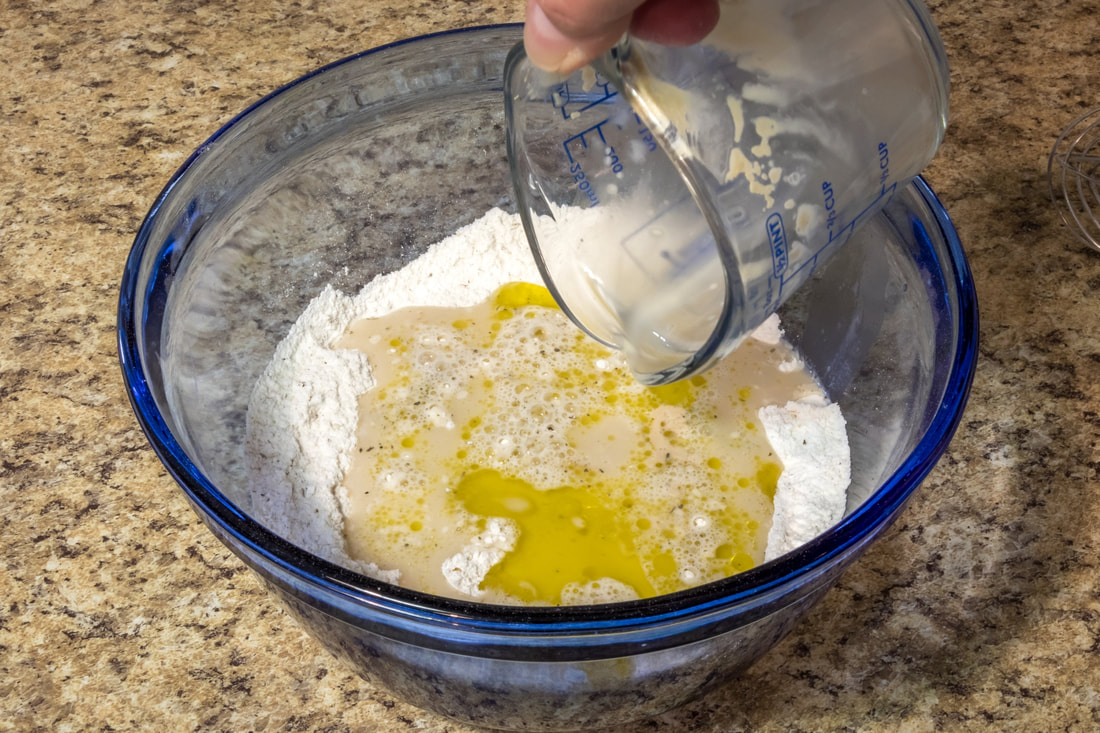
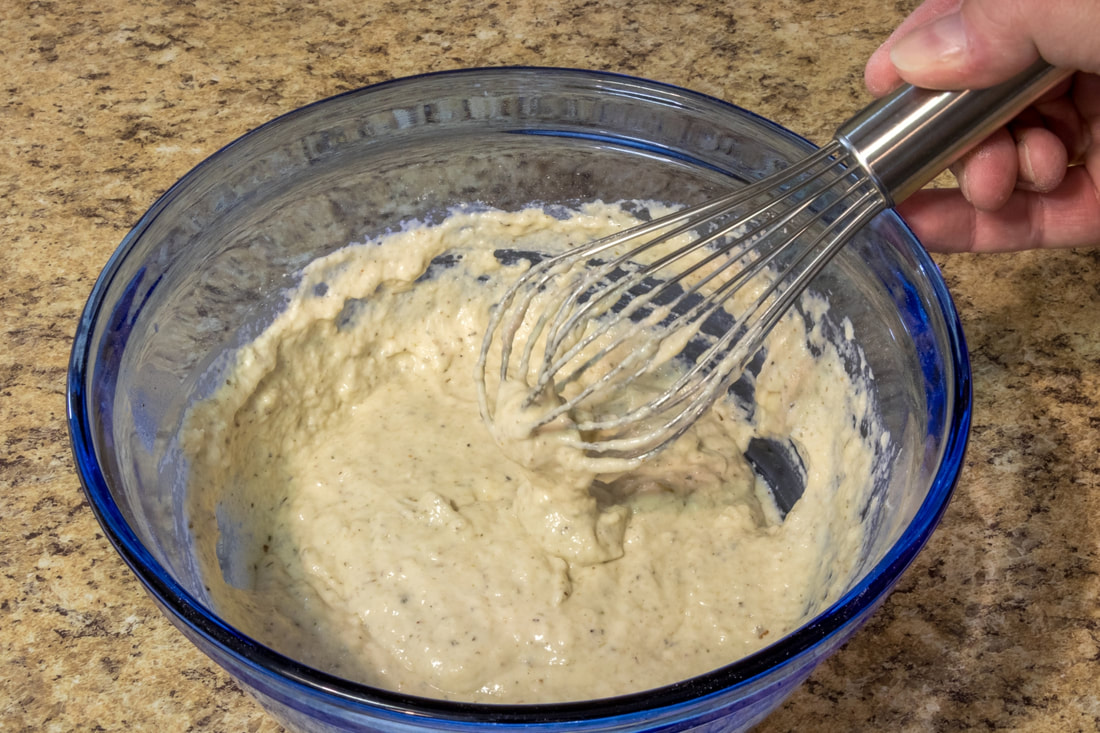
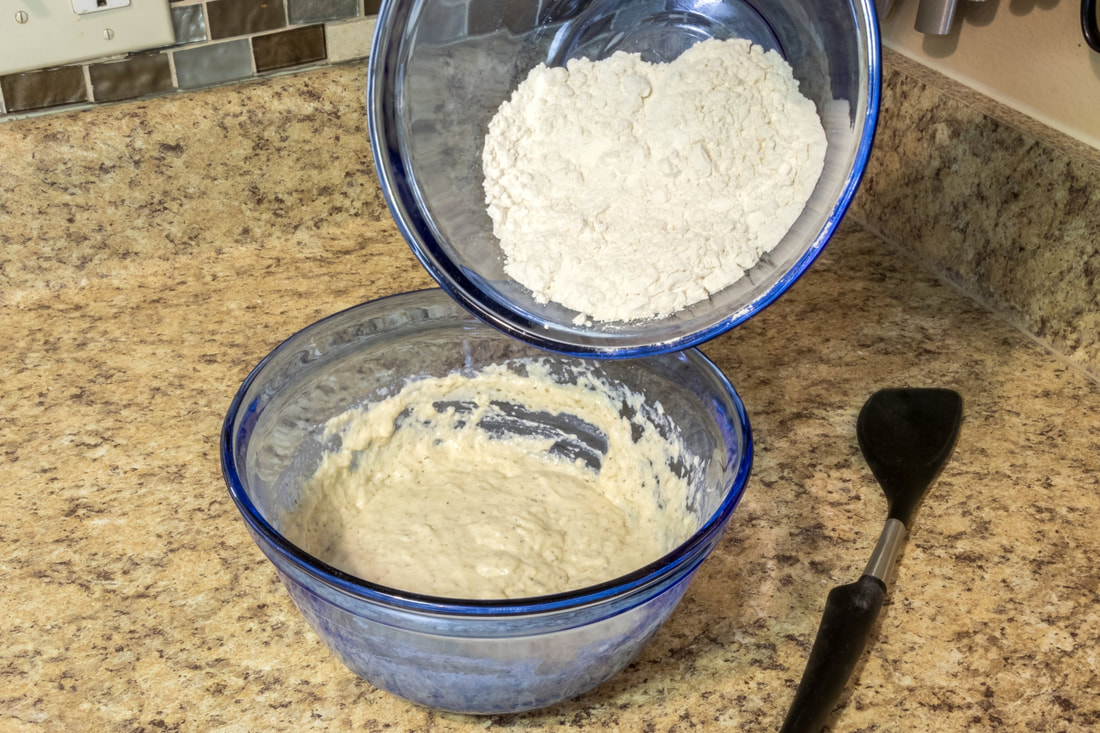
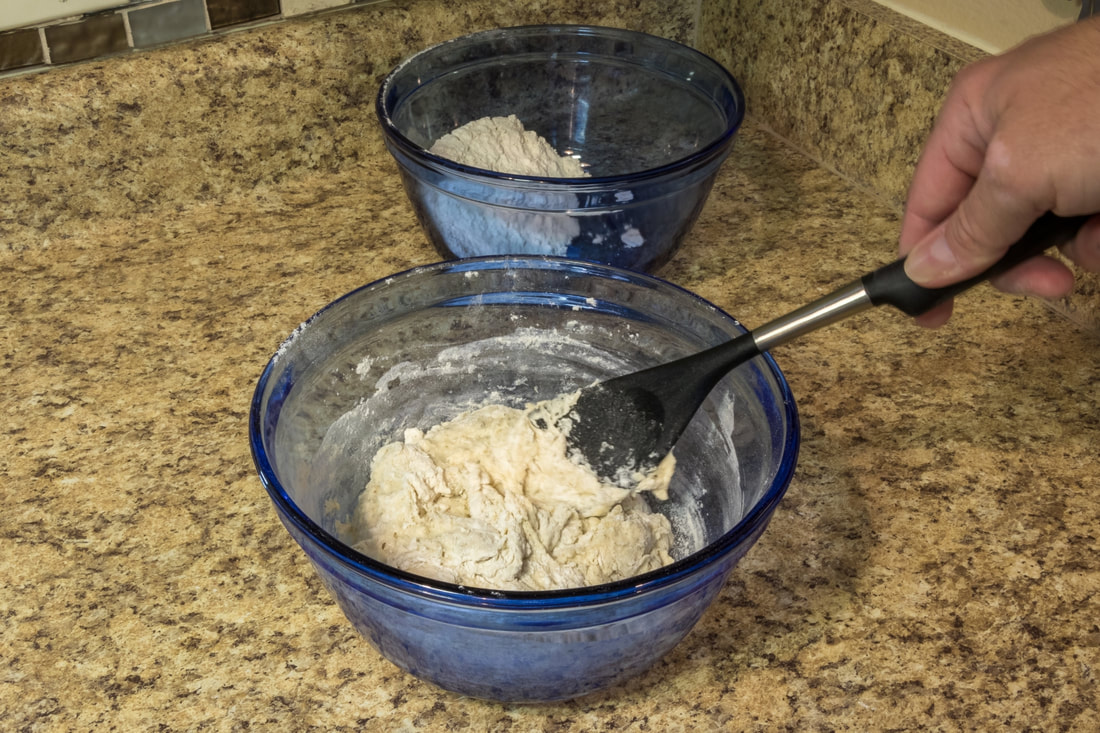
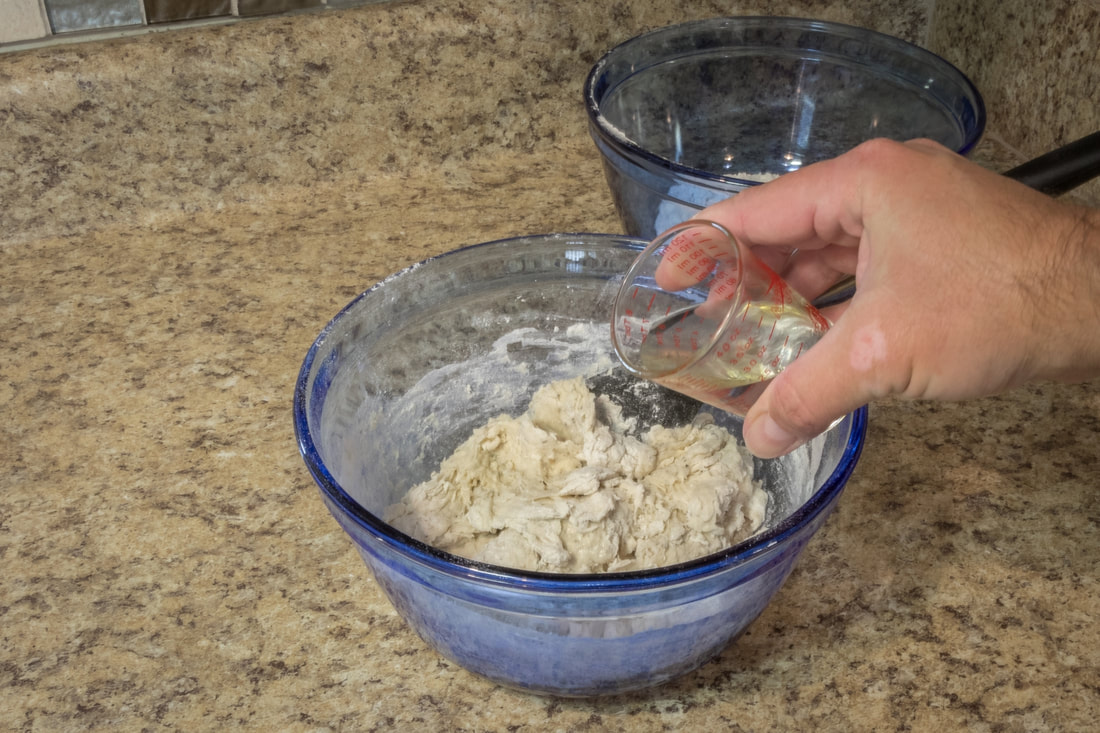
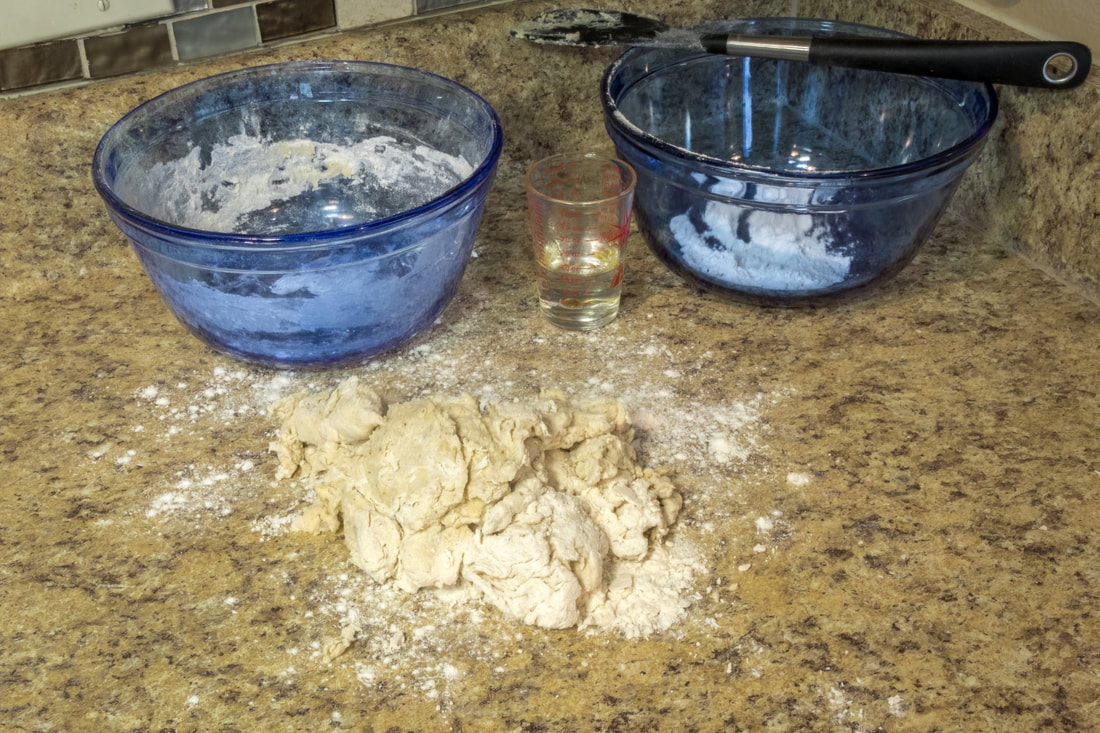
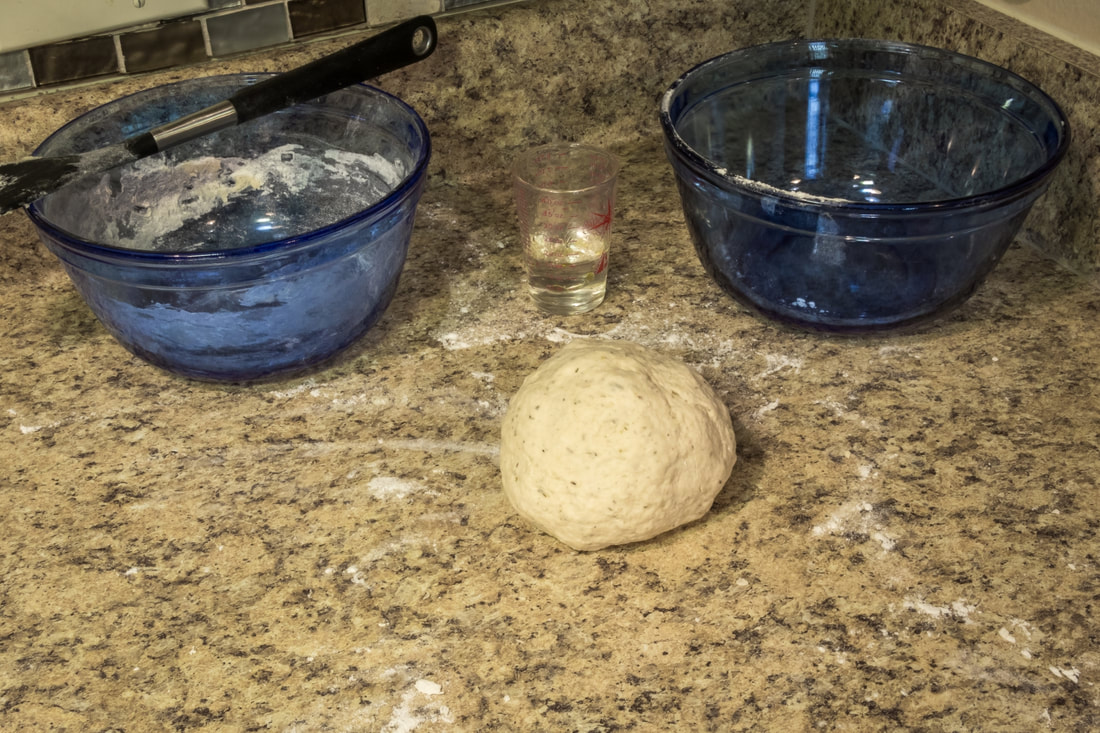
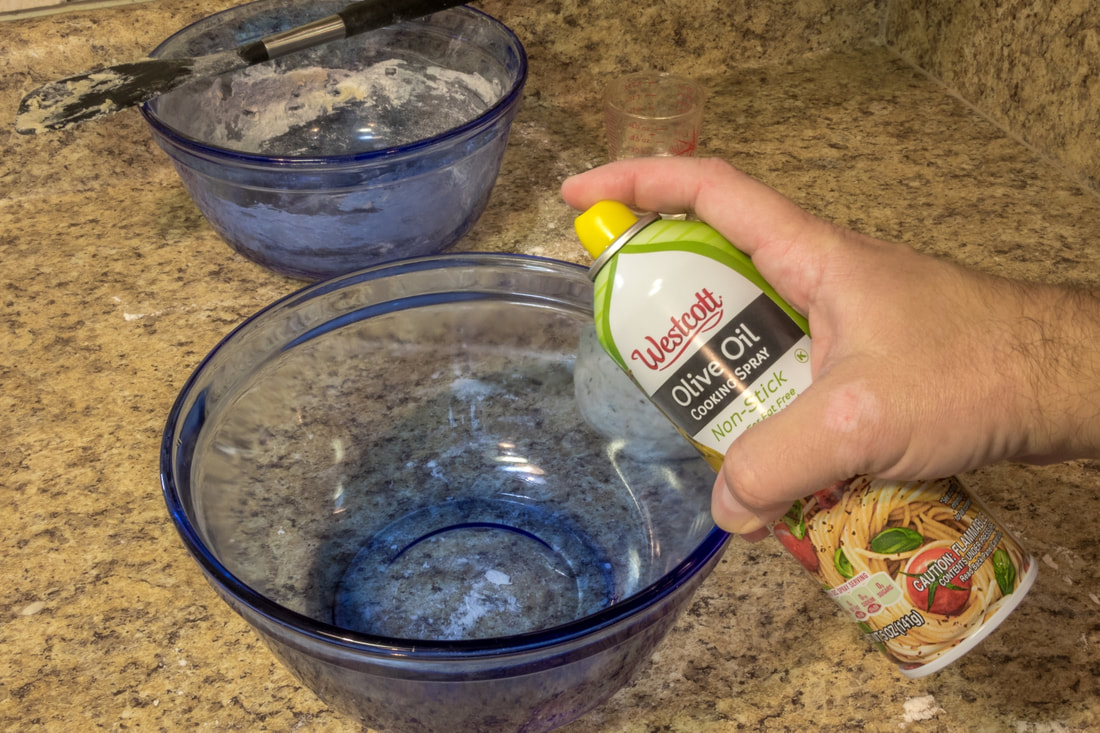
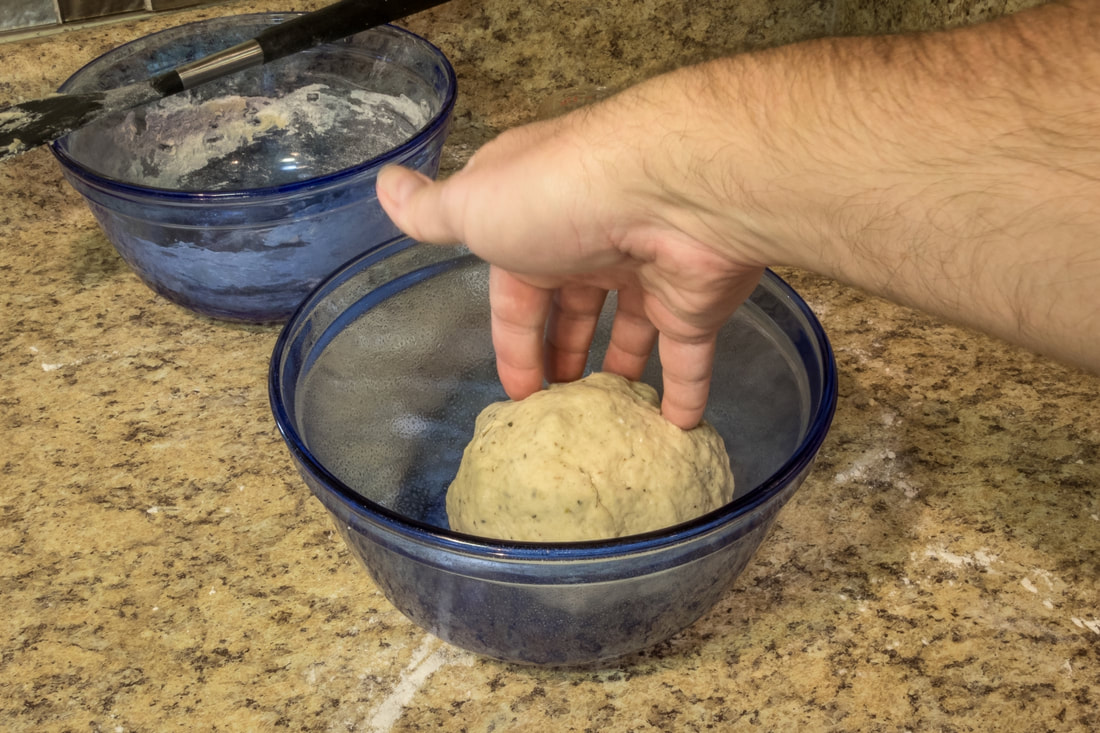
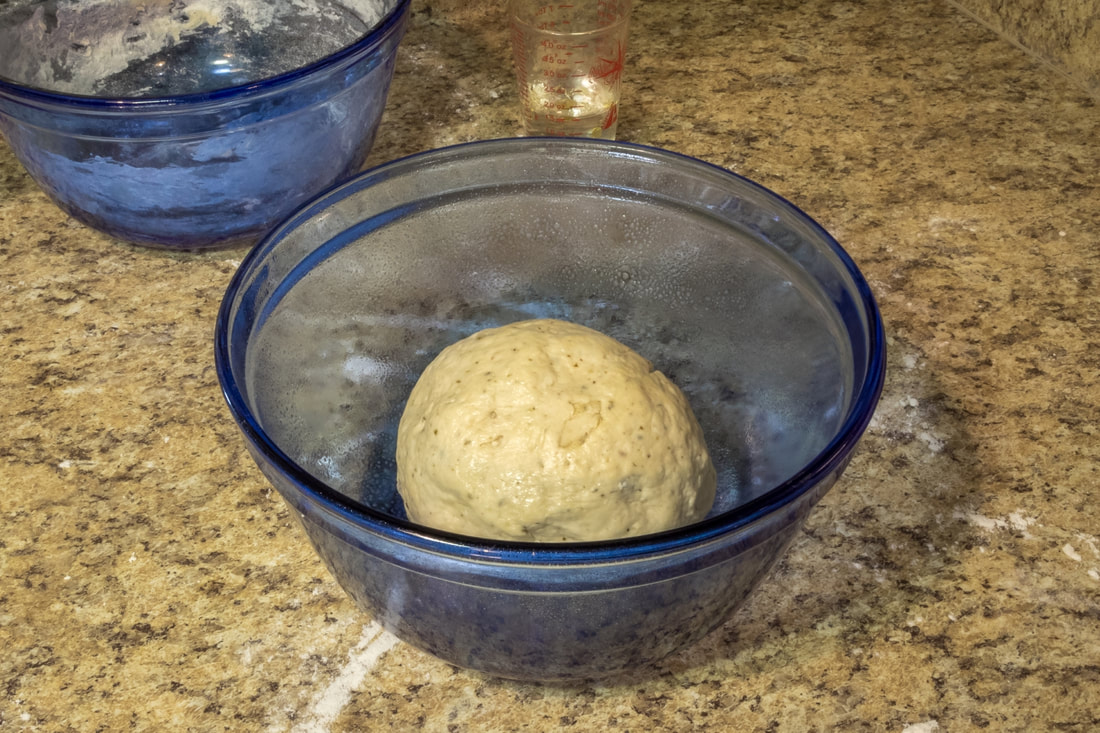
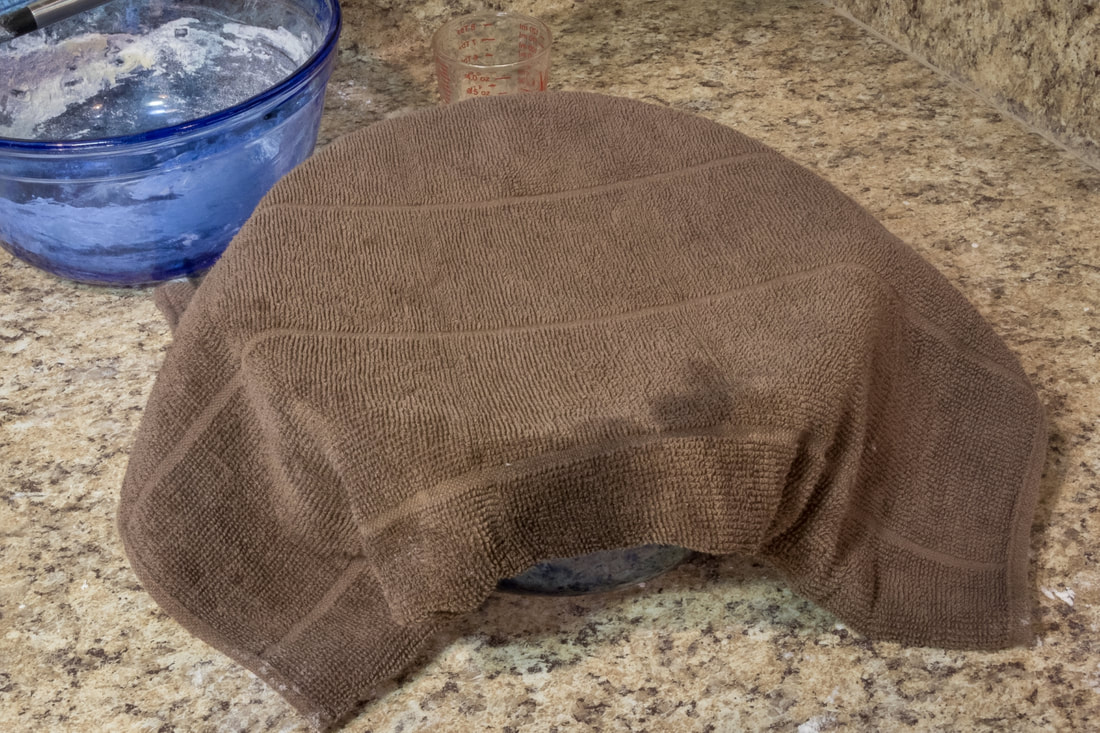
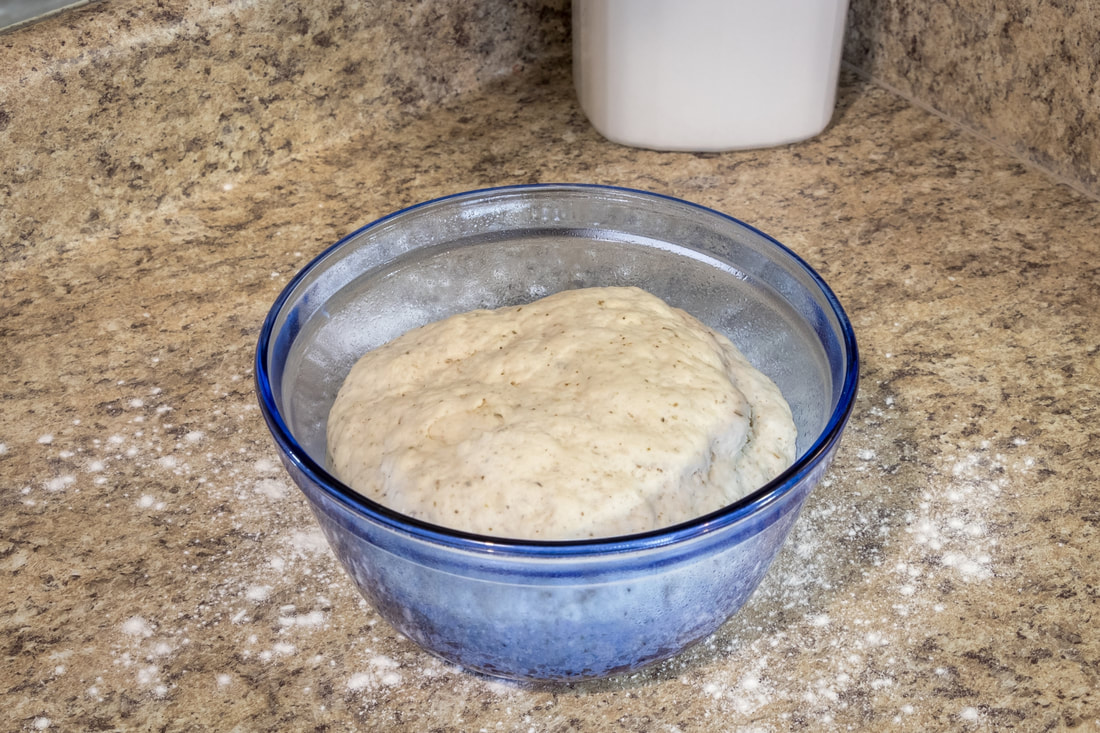
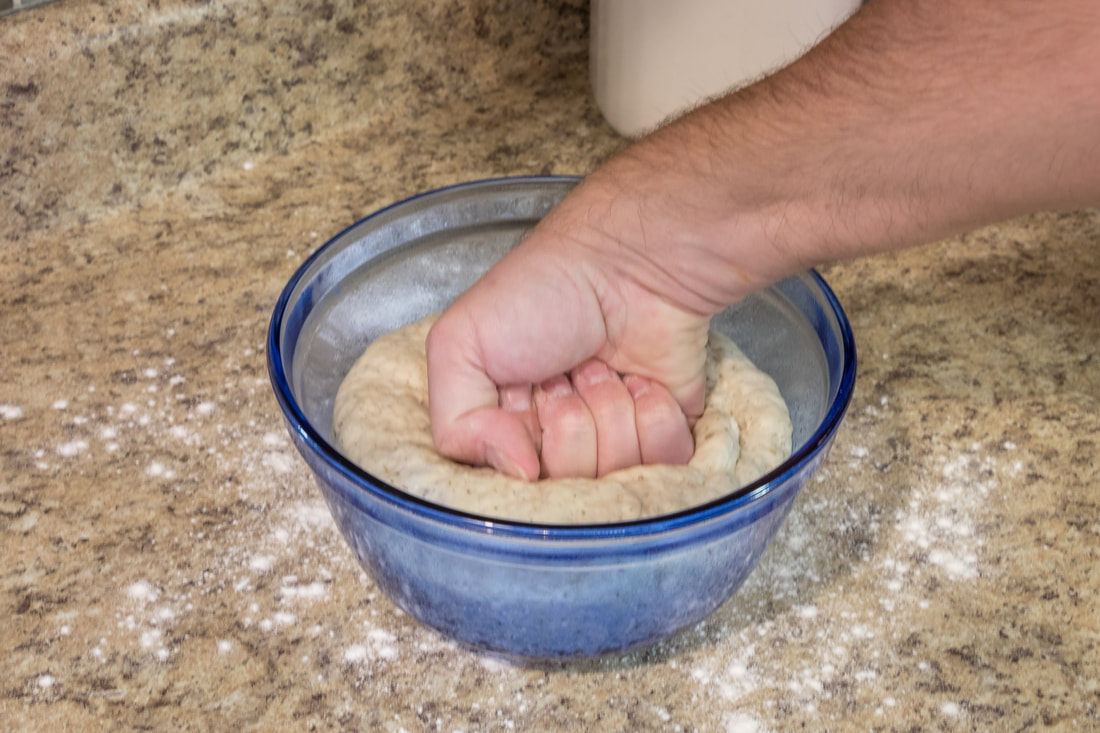
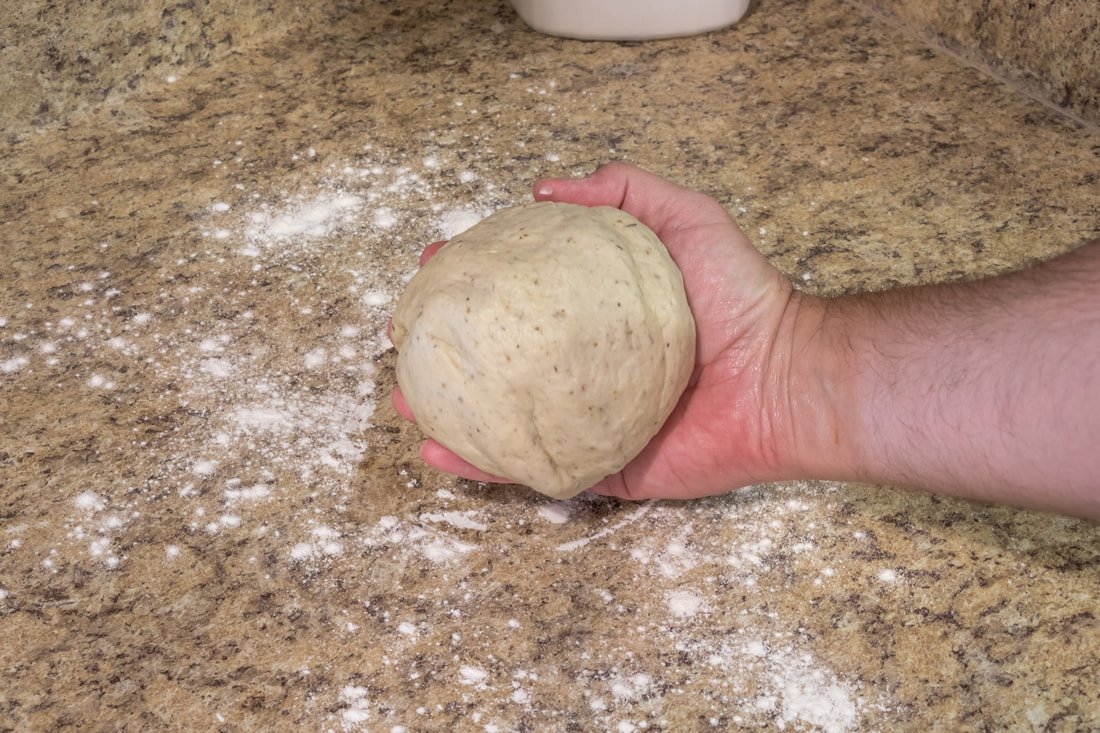
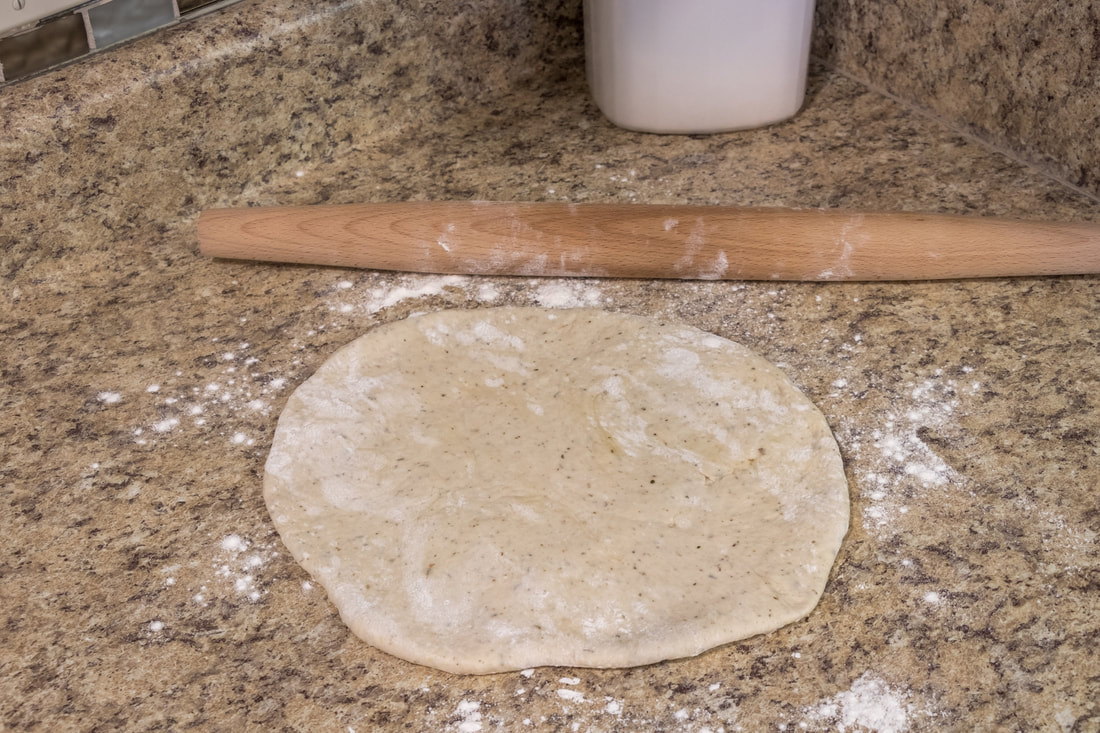
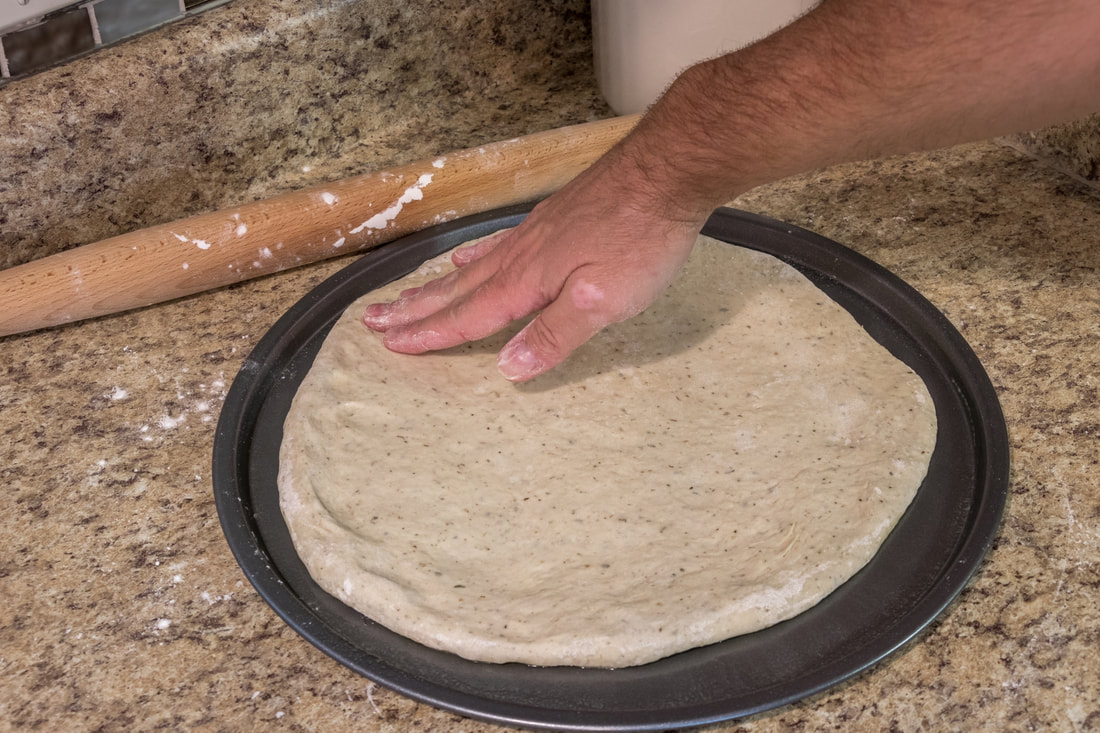
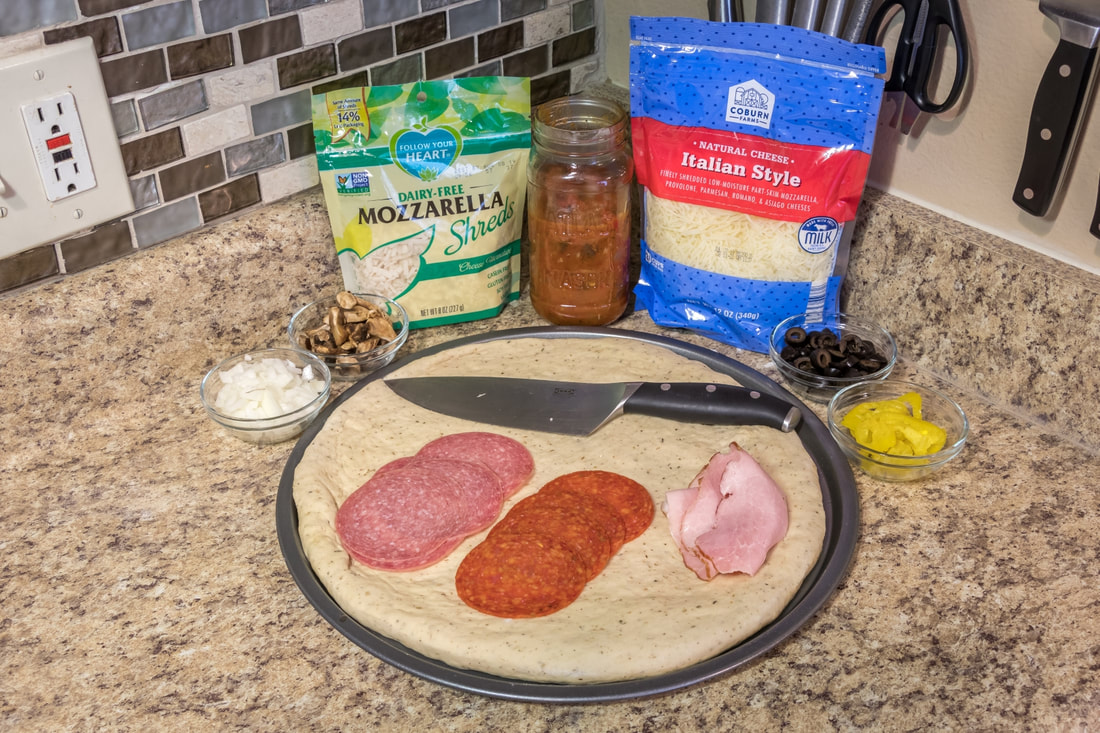
Directions: 1 - In a large bowl, separate out 1 cup of the dry ingredients, and mix it with all of the wet ingredients. It will turn into a soupy mixture. 2 - Add ¼ cup of the remaining dry ingredients at a time, and keep mixing until a solid dough starts to form. 3 - If it is too dry, and the flower is no longer sticking, add the tiniest amount of water at a time until it starts to form a good dough again. By tiny amount, I mean barely ½ teaspoon. That is all you need to get it moist enough to take in more flour. Adding too much water will make the mixture too sticky. 4 - Continue adding the flour ¼ cup at a time, adding tiny amounts of water as needed to get the flour to stick. You should have no dry ingredients left. The dough should be tacky, but not gooey or sticky. It should not heavily stick to your fingers when handling. If so, add a tablespoon of flour at a time and keep mixing it until it is no longer sticky. Once it is no longer sticky, it is ready for kneading. 5 - Sprinkle flour over a flat surface, I just use my counter top. Grab a small amount of flour in your hand, hold it a foot over your surface, and sprinkle it all over, giving it a nice dusting. Use more or less as needed, depending how sticky your dough still is. It should look like a light snow covering your surface. 6 - Take the dough out of the bowl and place it on the floured surface. It may be in a nice ball or may be in lumps like mine is in the photo. Either is fine. It will turn into a ball when you are finished with it. 7 - Knead the dough for a few minutes, pressing it out, folding it over itself, etc. until it has good elasticity. Make sure it is stretchy. If it is sticking to your fingers at all, sprinkle more flour on your work surface and on top of the dough and continue to knead it. Knead it gently into a ball shape when you’re finished. You should have a nicely formed dough ball by now. 8 - In a large clean bowl, spray (or wipe) a light coating of olive oil on the inside of the bowl. While the dough is rising, you can make your marinara sauce. Since I wanted to make this as one start-to-finish recipe, I will keep these two recipes in the same article for ease of use. Marinara Sauce Rather than make one huge post, you can click here to see the Marinara Sauce how to. Once your sauce is ready, or if you are going to use sauce from a jar, then continue on. Making our Pizza Now comes the fun part. Building your very own gourmet pizza, using the dough and marinara sauce you just made! 1 - Check your dough; it should have risen fully by now. Notice the dough in my photo has doubled in size from the small dough ball to nearly filling the bowl with soft, puffy dough. 2 - Gently punch the dough down with your fist to let all of the air out. You only need to press gently, you don’t need to pummel it. 3 - Remove the dough from the bowl and knead it for another minute on a clean, floured surface to form a nice dough ball again. 4 - Roll your dough out into whatever shape you wish. In this instance, I am making a round pizza. You can make a square pizza, you can roll it into a Stromboli, you can fold it in half for a calzone. You can cut it into pieces and make bread sticks. This dough can be used for whatever pizza dough creations you like. For ease of use, I use a pizza pan. I used to use a stone, but I just can’t get the pizza to slide onto it very easily into the oven, so I just use a pizza pan to make it easier on myself. You can use a rectangular baking sheet too. There is no wrong way to do this. Just make sure the shape of your dough fits whatever you are putting it on. Pizza Toppings What do you put on a pizza? Whatever you want! There are no right or wrong ingredients for your homemade pizza. My wife has a dairy intolerance and will be using non-dairy mozzarella, and for some reason she likes banana peppers, so her half will have those. My half will have regular mozzarella cheese and no banana peppers. The rest of the pizza will have the same shared ingredients across both halves. For veggies, I went with onions, mushrooms and olives. For meats, I went to my local grocery store deli, and bought all Boar's Head meats. I got four slices each of hard salami, sandwich pepperoni and a bourbon smoked tavern ham. The meat only cost about $4 total, which is as much as a small package of cheap pepperoni. The taste is so much better using higher end meats. There is no shame in using whatever you have around the house. Typically, we just use cheap pepperoni and whatever random lunch meat we have in the refrigerator. If using lunch meats, cut them into smaller pepperoni sized pieces so you aren’t biting into large pieces of meat that will tear and slide off later. Layering your toppings: Typically, I start with sauce, followed by a meat layer or two. I then add my cheese layer, then another layer of meat (if you have more) followed by the rest of the toppings, such as veggies and mushrooms. If you want more cheese, add more to the top! Baking the Pizza Cost Breakdown
I hope you enjoyed this recipe. My wife and I make this a few times a month. We typically save the left over marinara sauce for making a nice meaty pasta dish. That sauce is amazing! If you have any suggestions for future recipe write-ups, please leave a comment or write me an email. |
Categories
All
Archives
August 2022
|
- Home
-
Abandoned Travels
-
Abandonments
>
- 2014-2015 >
-
2013
>
- CMX Construction
- Orange House 01
- Fertilizer Plant
- Egg Plant
- Box Plant
- Ellaville Bridge Revisited
- Gold Kist Farms Silos
- Lafayette House 03
- Columbia House 01
- Columbia Barn 01
- Cash's Towing
- Coastal Revisited
- Suwannee Shack
- Hernando House 01
- Lafayette House 02
- Lafayette House 01 Revisited
- Lafayette Chimney Revisited
- Lafayette Quarry Revisited
- Williston Urbex
- Elljay Garage
- 2012 >
- 2010-2011 >
- Travels >
- Nature >
- Water >
-
Abandonments
>
-
Games
- Food
-
VATS Sucks
- Stuff
- About




 RSS Feed